
Vermicomposting
Make sure you’ve read PART ONE of this series, where we discuss what goes into the compost. And check out PART TWO too to learn about backyard composting methods.
Vermicomposting is the process of using specific worms to compost kitchen waste in a designated container. Worm bins can be kept inside or outside (with a little protection). You can even have a designated worm bin for pet waste - but you shouldn’t use the castings on edible plants.
Vermicomposting is one of my all time favorite ways to compost. Worm castings (read:poop) are absolutely AMAZING for your garden. And they require very little time commitment to create.
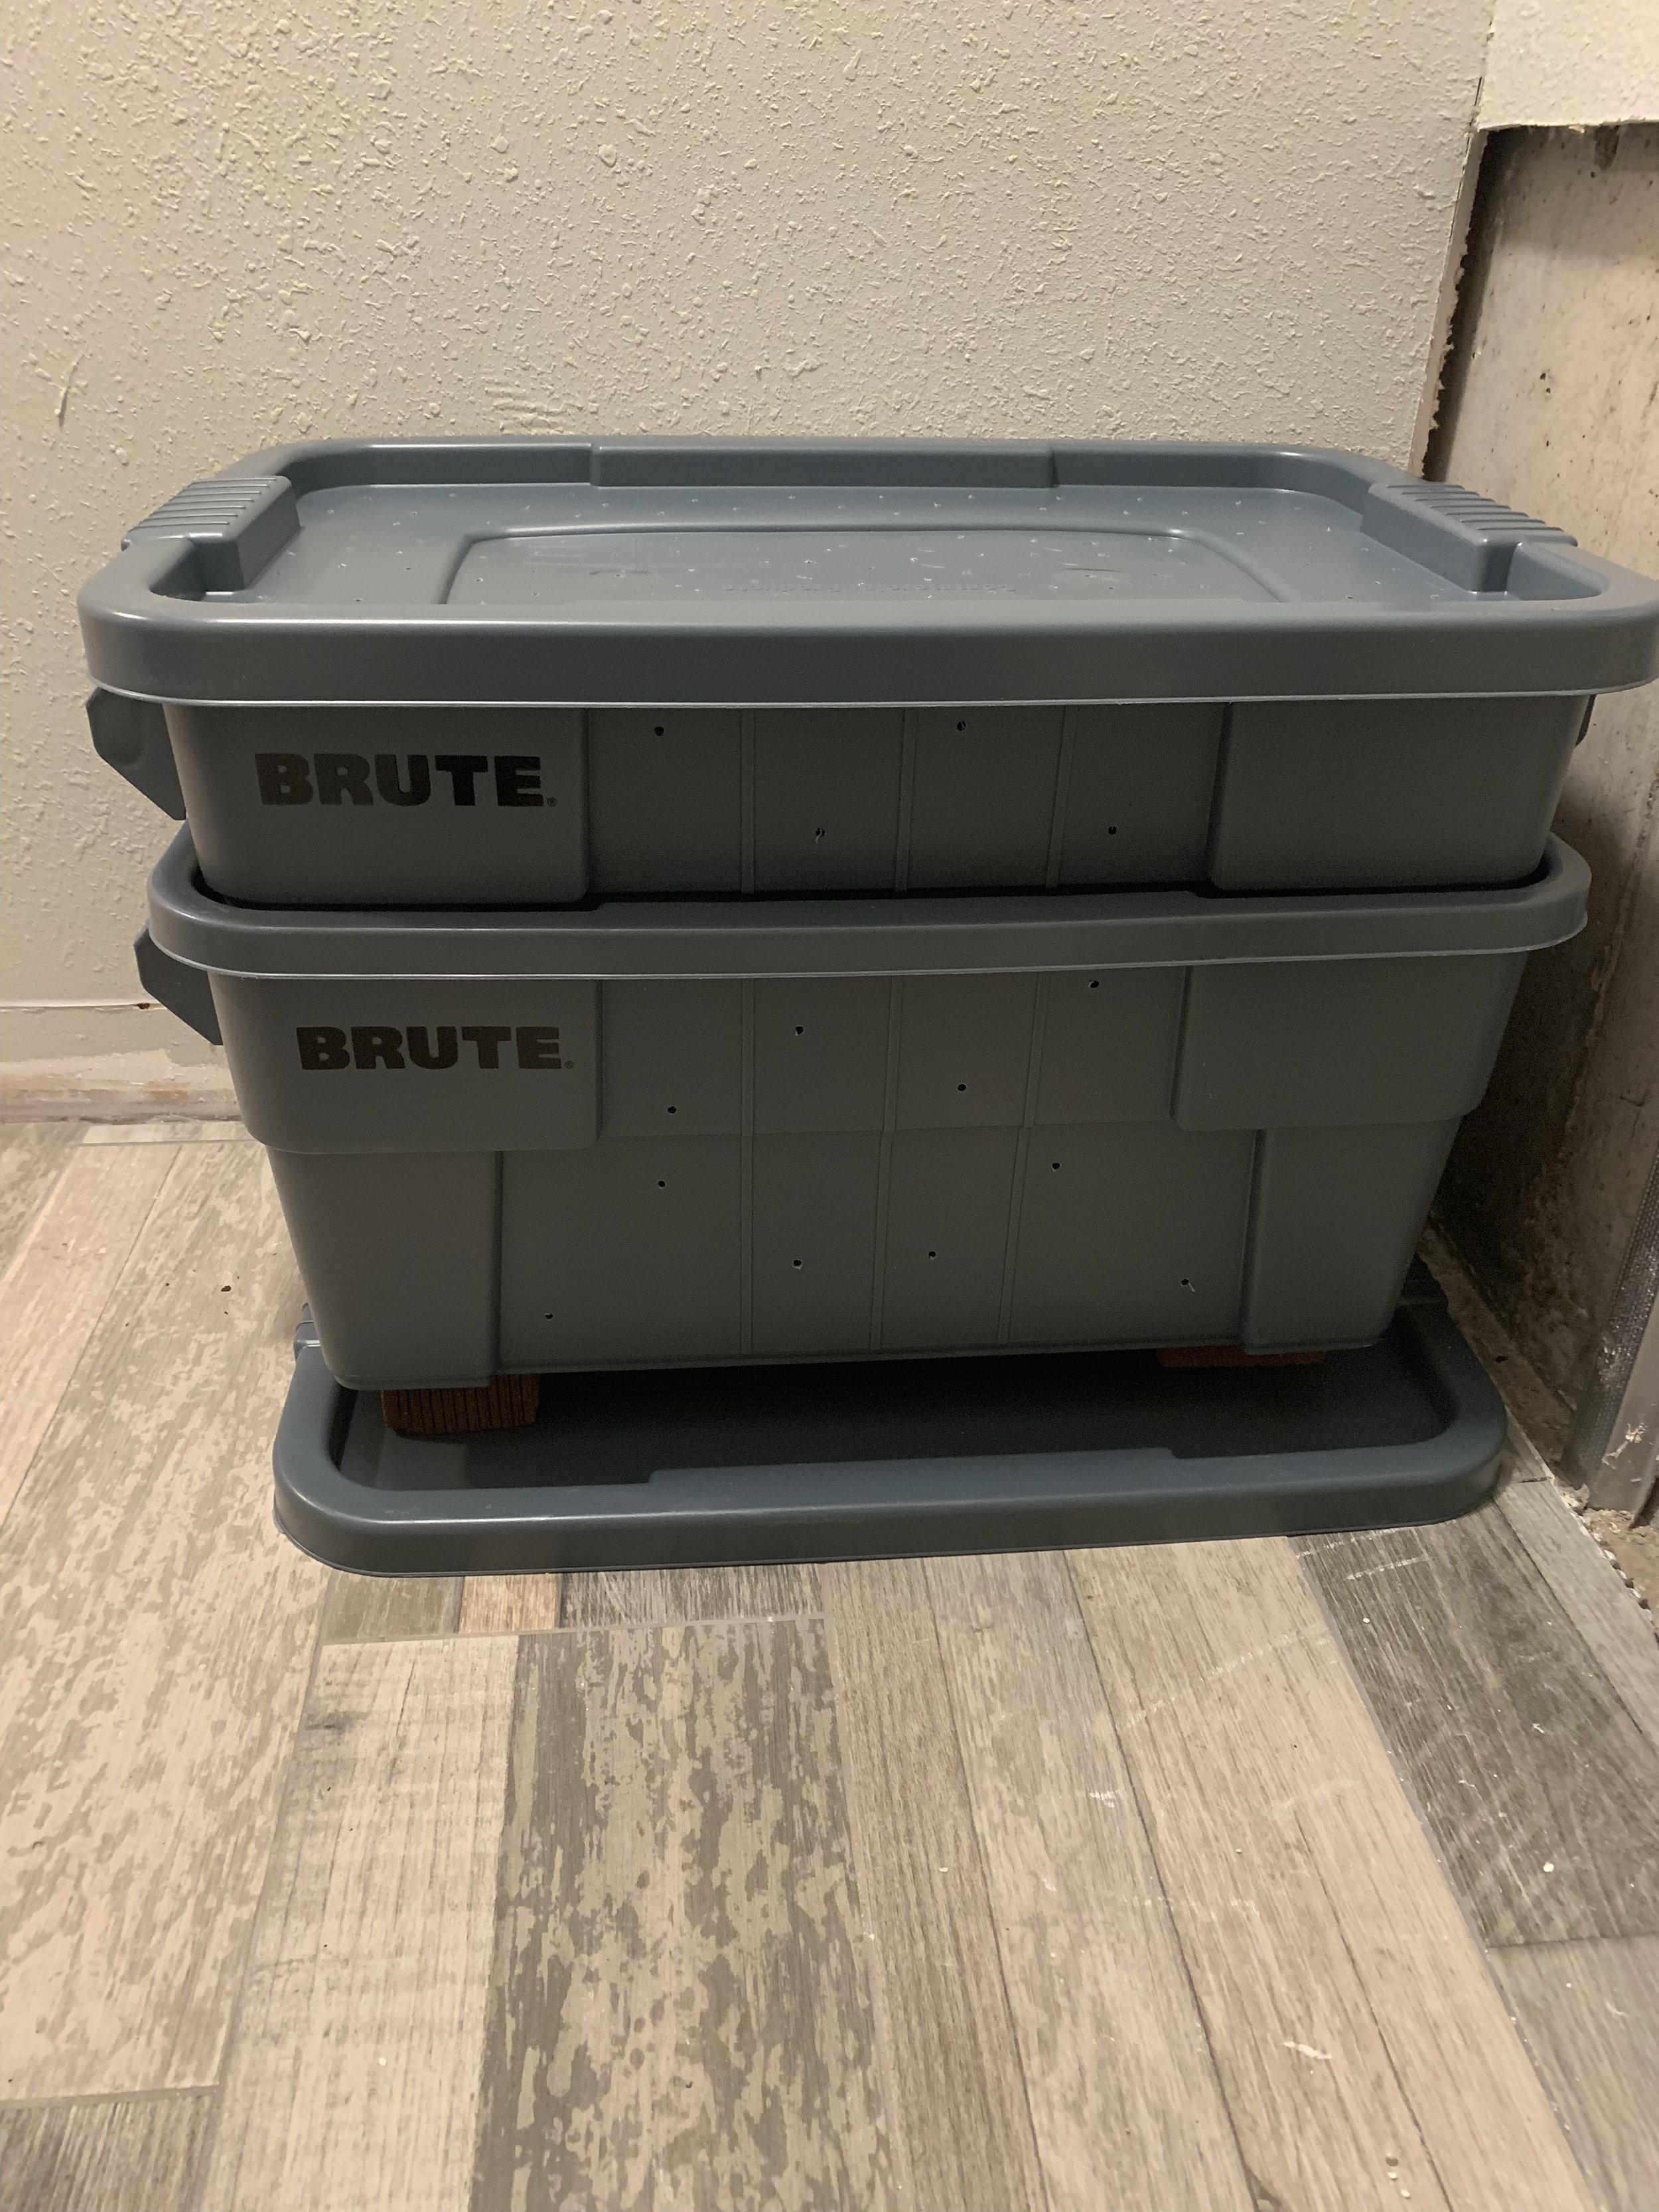
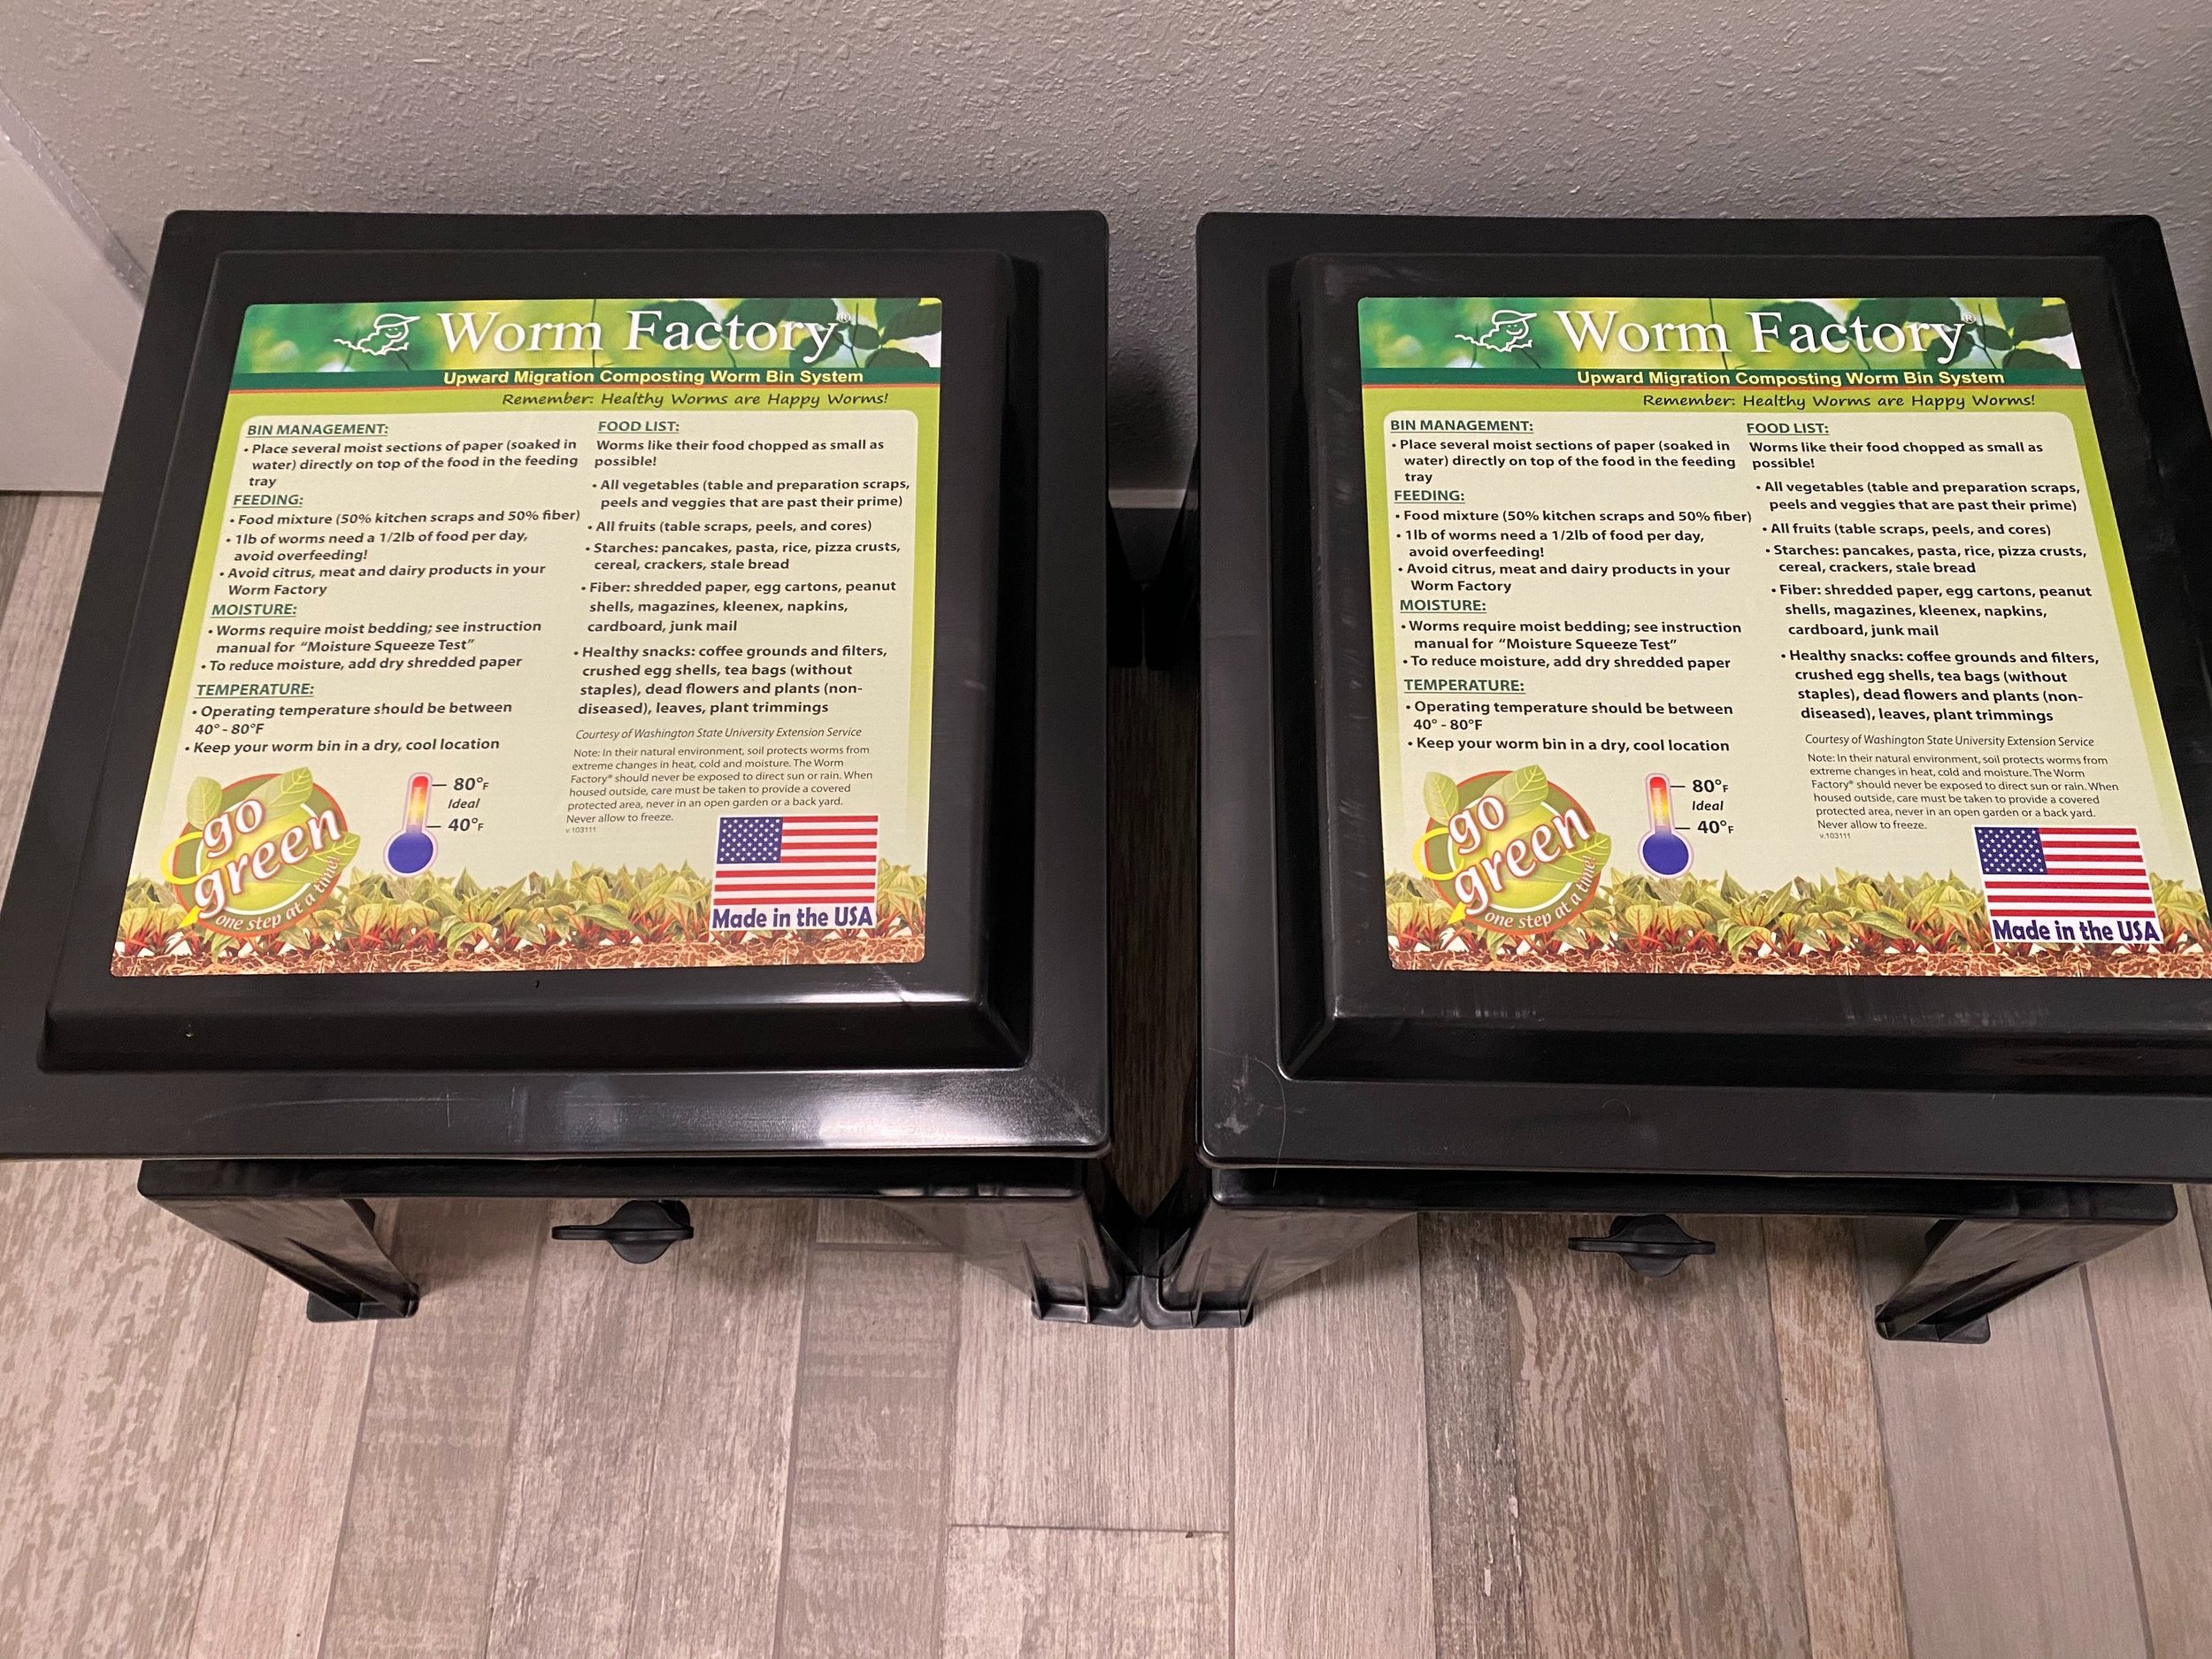
There are a few ways to have worms at home. You can build a box out of plastic storage boxes or purchase a premade system like the Worm Factory 360. The important thing is that the container allows air flow, is dark, has a good amount of surface area, and can be easily washed.
Set Up
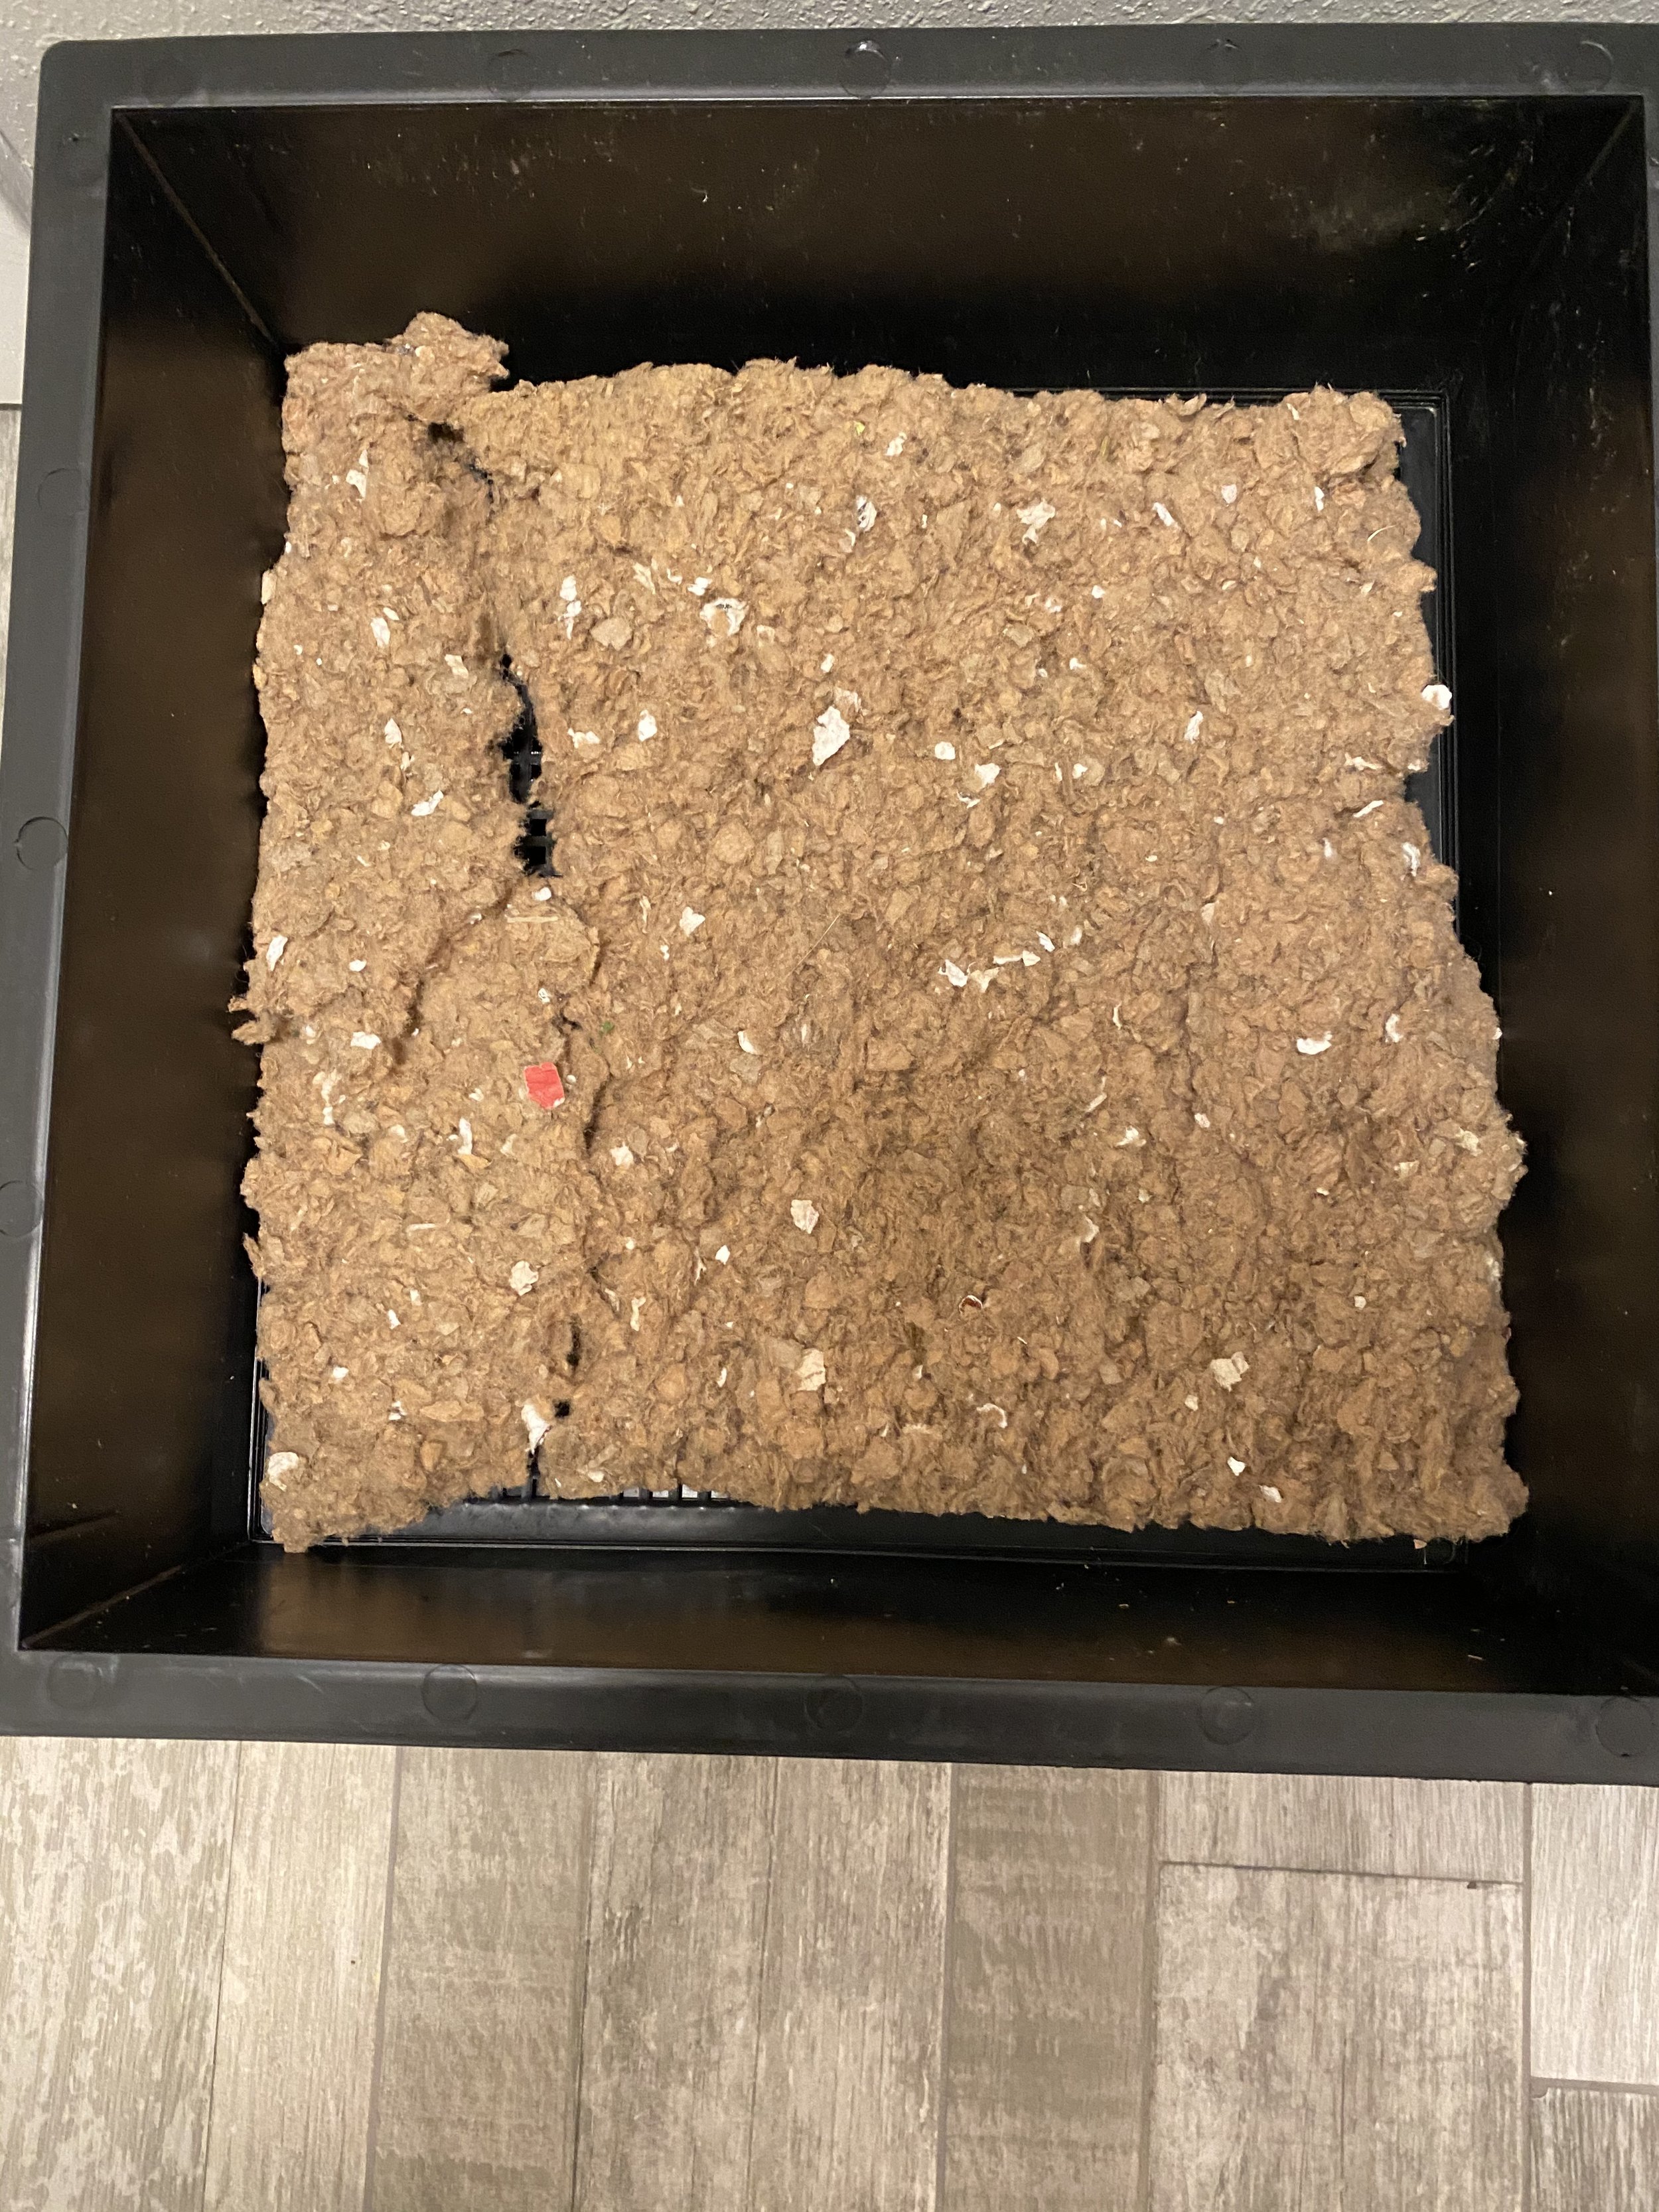
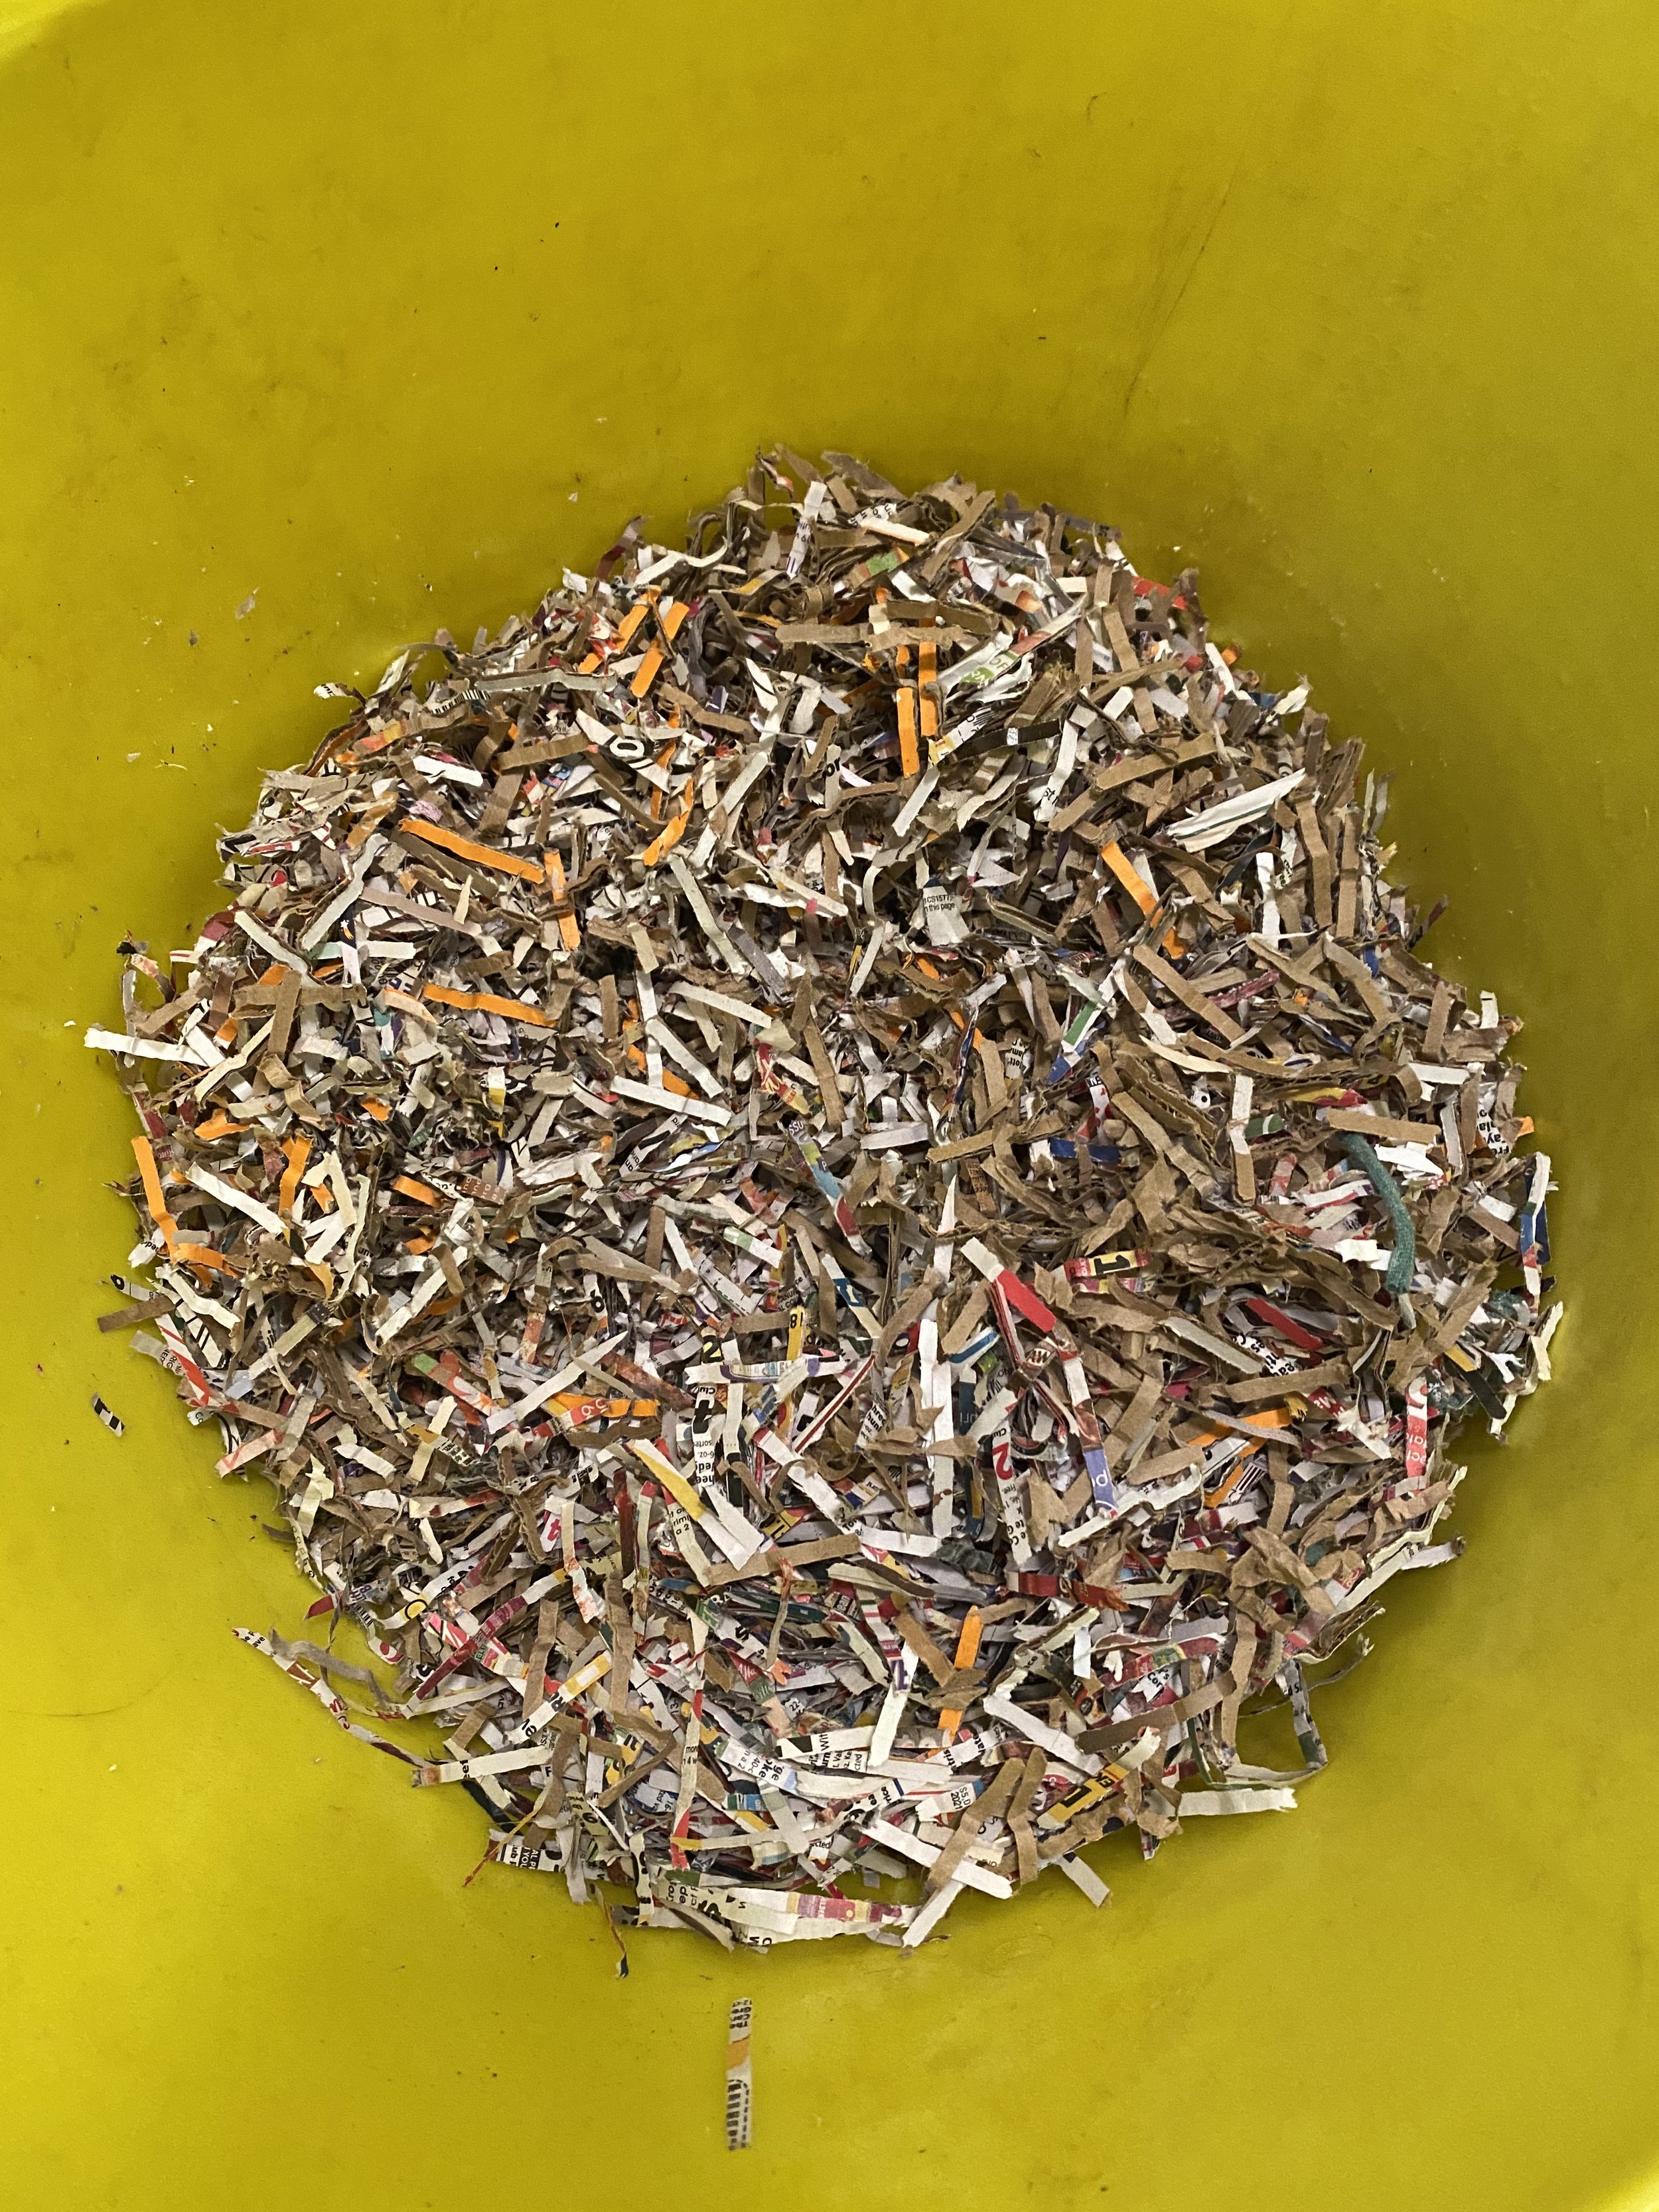
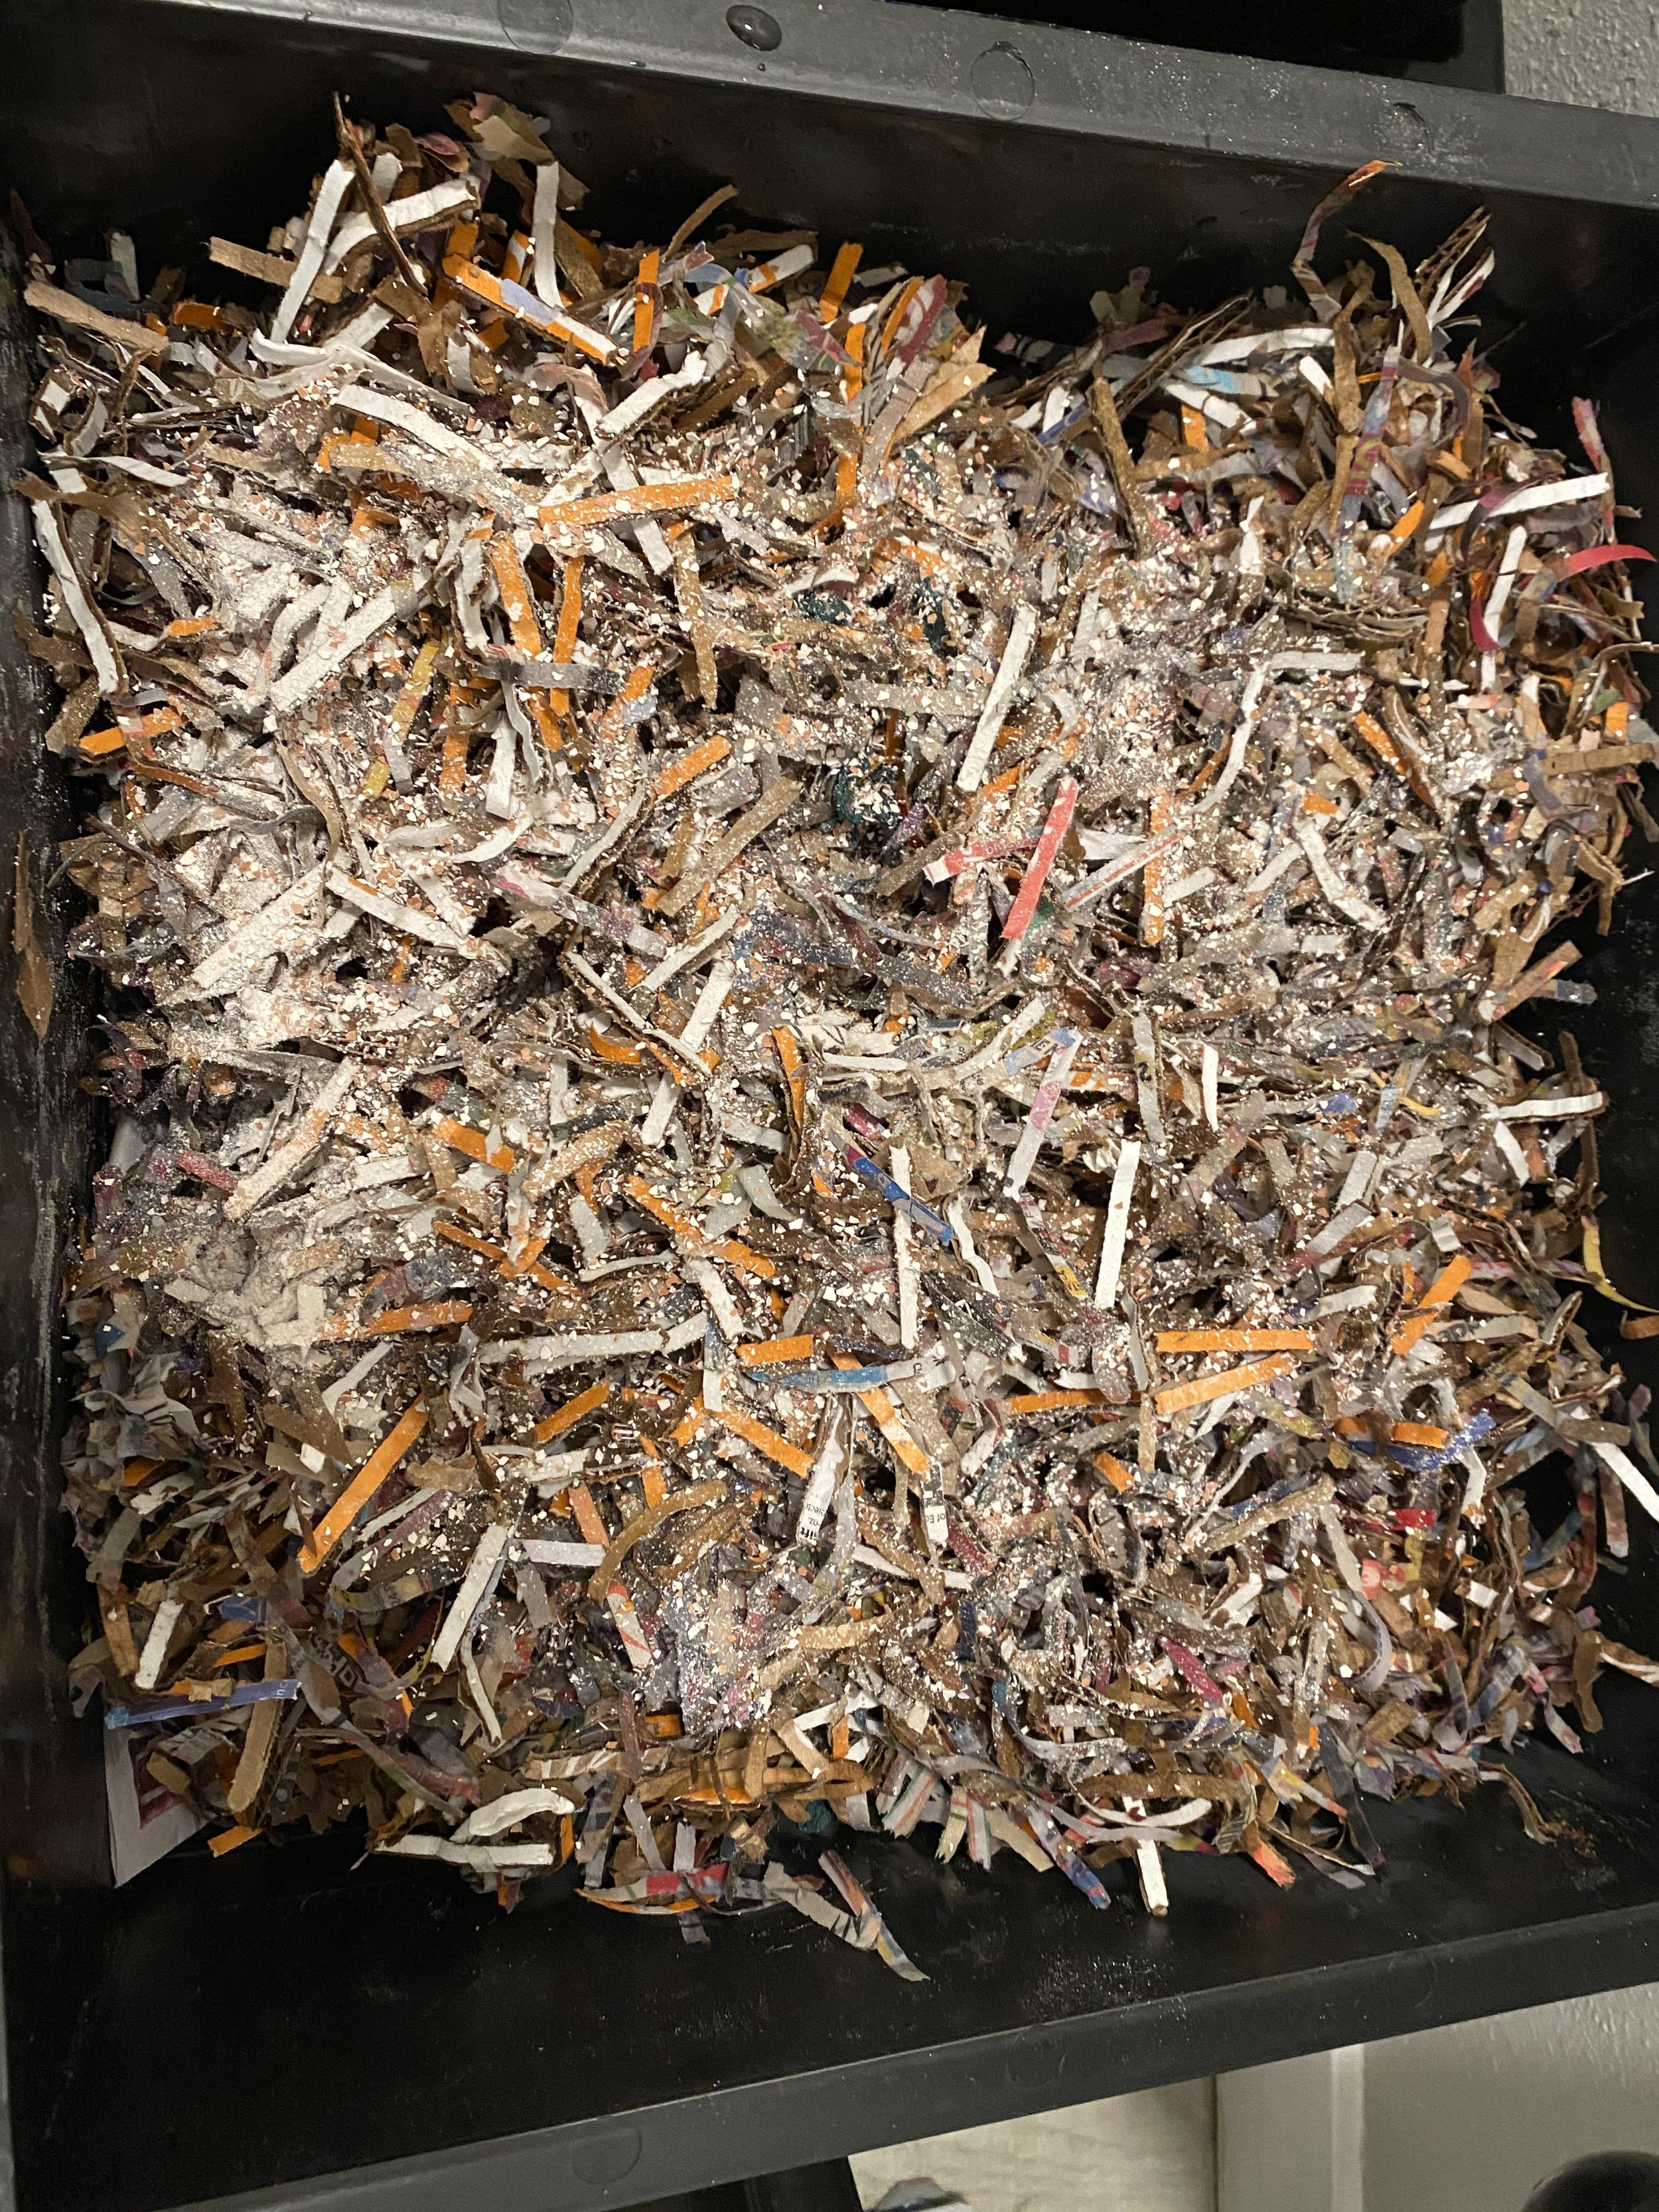
Once you have bought or put together your worm bin, cut, tear or shred newsprint or cardboard into 1” or smaller pieces or strips. You’ll need to fill about 3/4 of the bin with the paper material.
NOTE: You should only use matte newsprint or cardboard as they are printed with a soy based ink. Shiny paper can have chemicals that would be harmful to the worms or your garden. You can also use egg cartons, grocery bags, toilet paper rolls etc. You CAN use leaves, straw, and other outdoor carbon material but it can introduce pests into your bin. If you plan to use the bin inside, I recommend only using paper/cardboard.
Moisten the paper material to be damp but not wet. Like outdoor compost, it should be no more wet than a wrung out sponge.
Mix the paper with a handful or two of potting soil. This is necessary when starting a bin to ensure you have grit for the worms to digest food and have introduced the beneficial microorganisms into the bin.
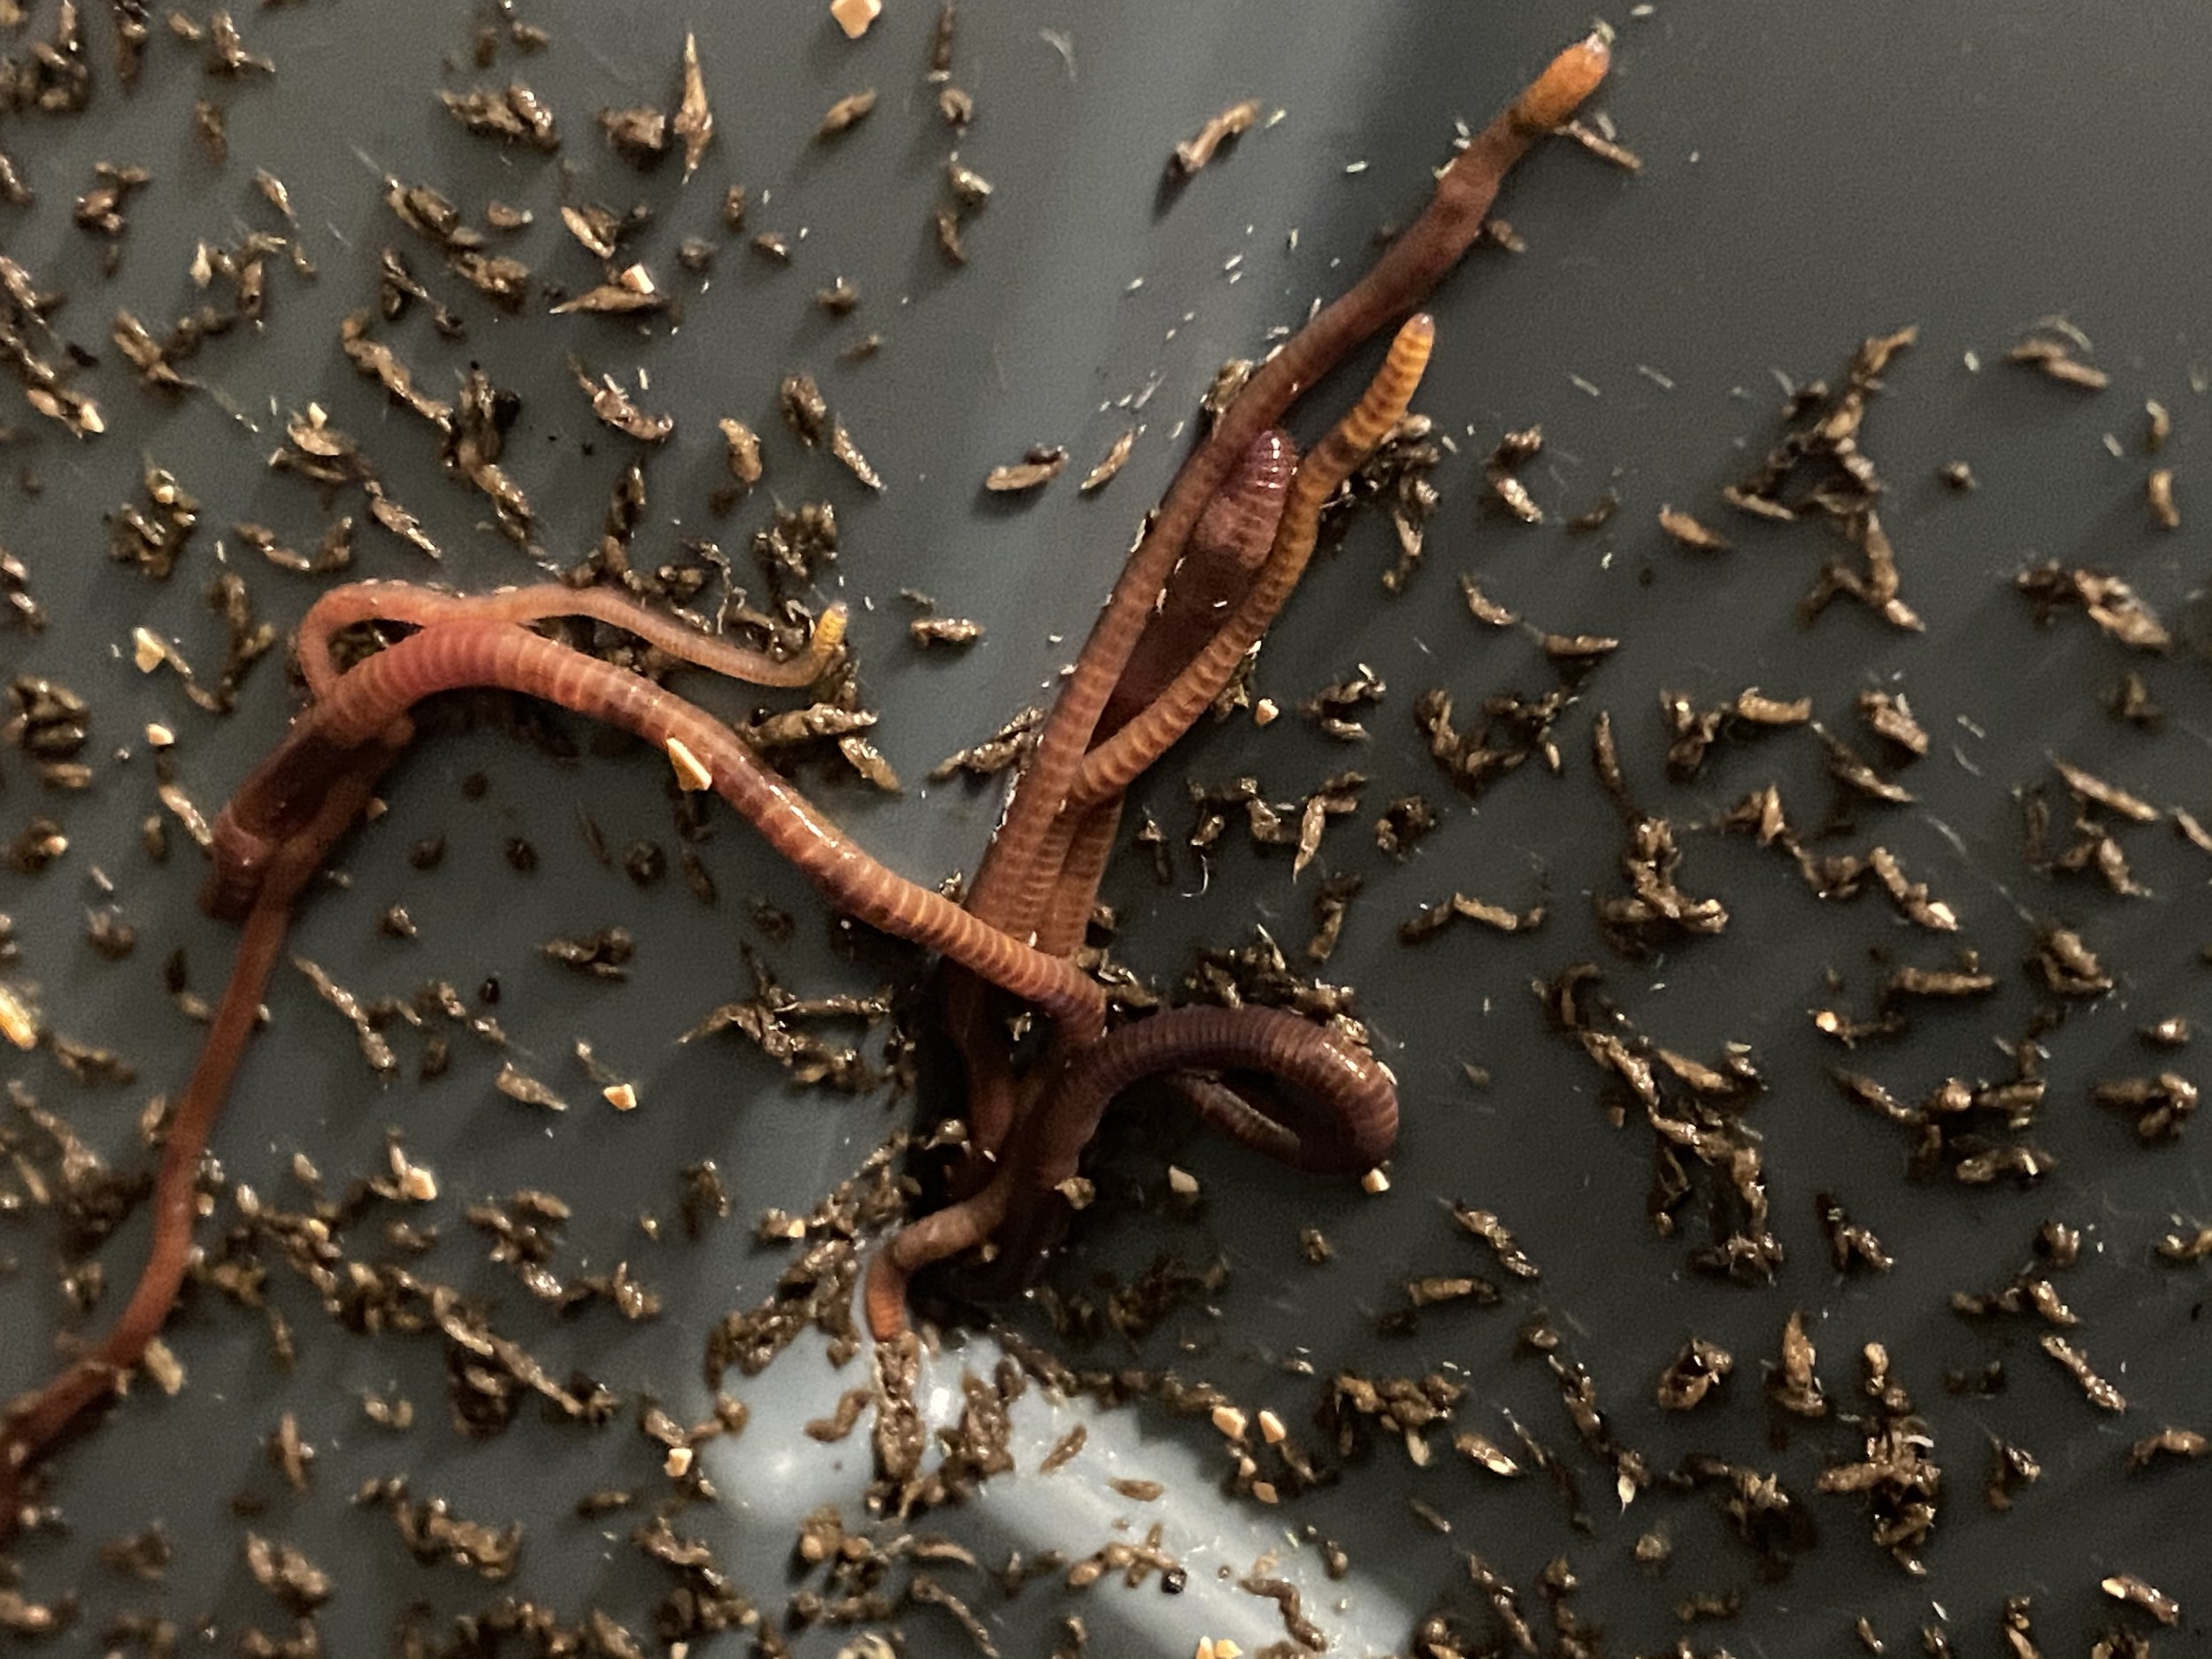
Add worms. The amount will depend on how much waste you want to convert and the size of your bin. Generally you’ll need 1/4-1/2 lb of worms per square foot of surface area. I like to err on the smaller amount since worms will multiply quickly when they are happy in the bin. Worms can eat 1/2 their weight in a single day so if you have a lot of waste to process, you’ll likely need a large bin.
Wait a couple days to let the worms acclimate to their new environment
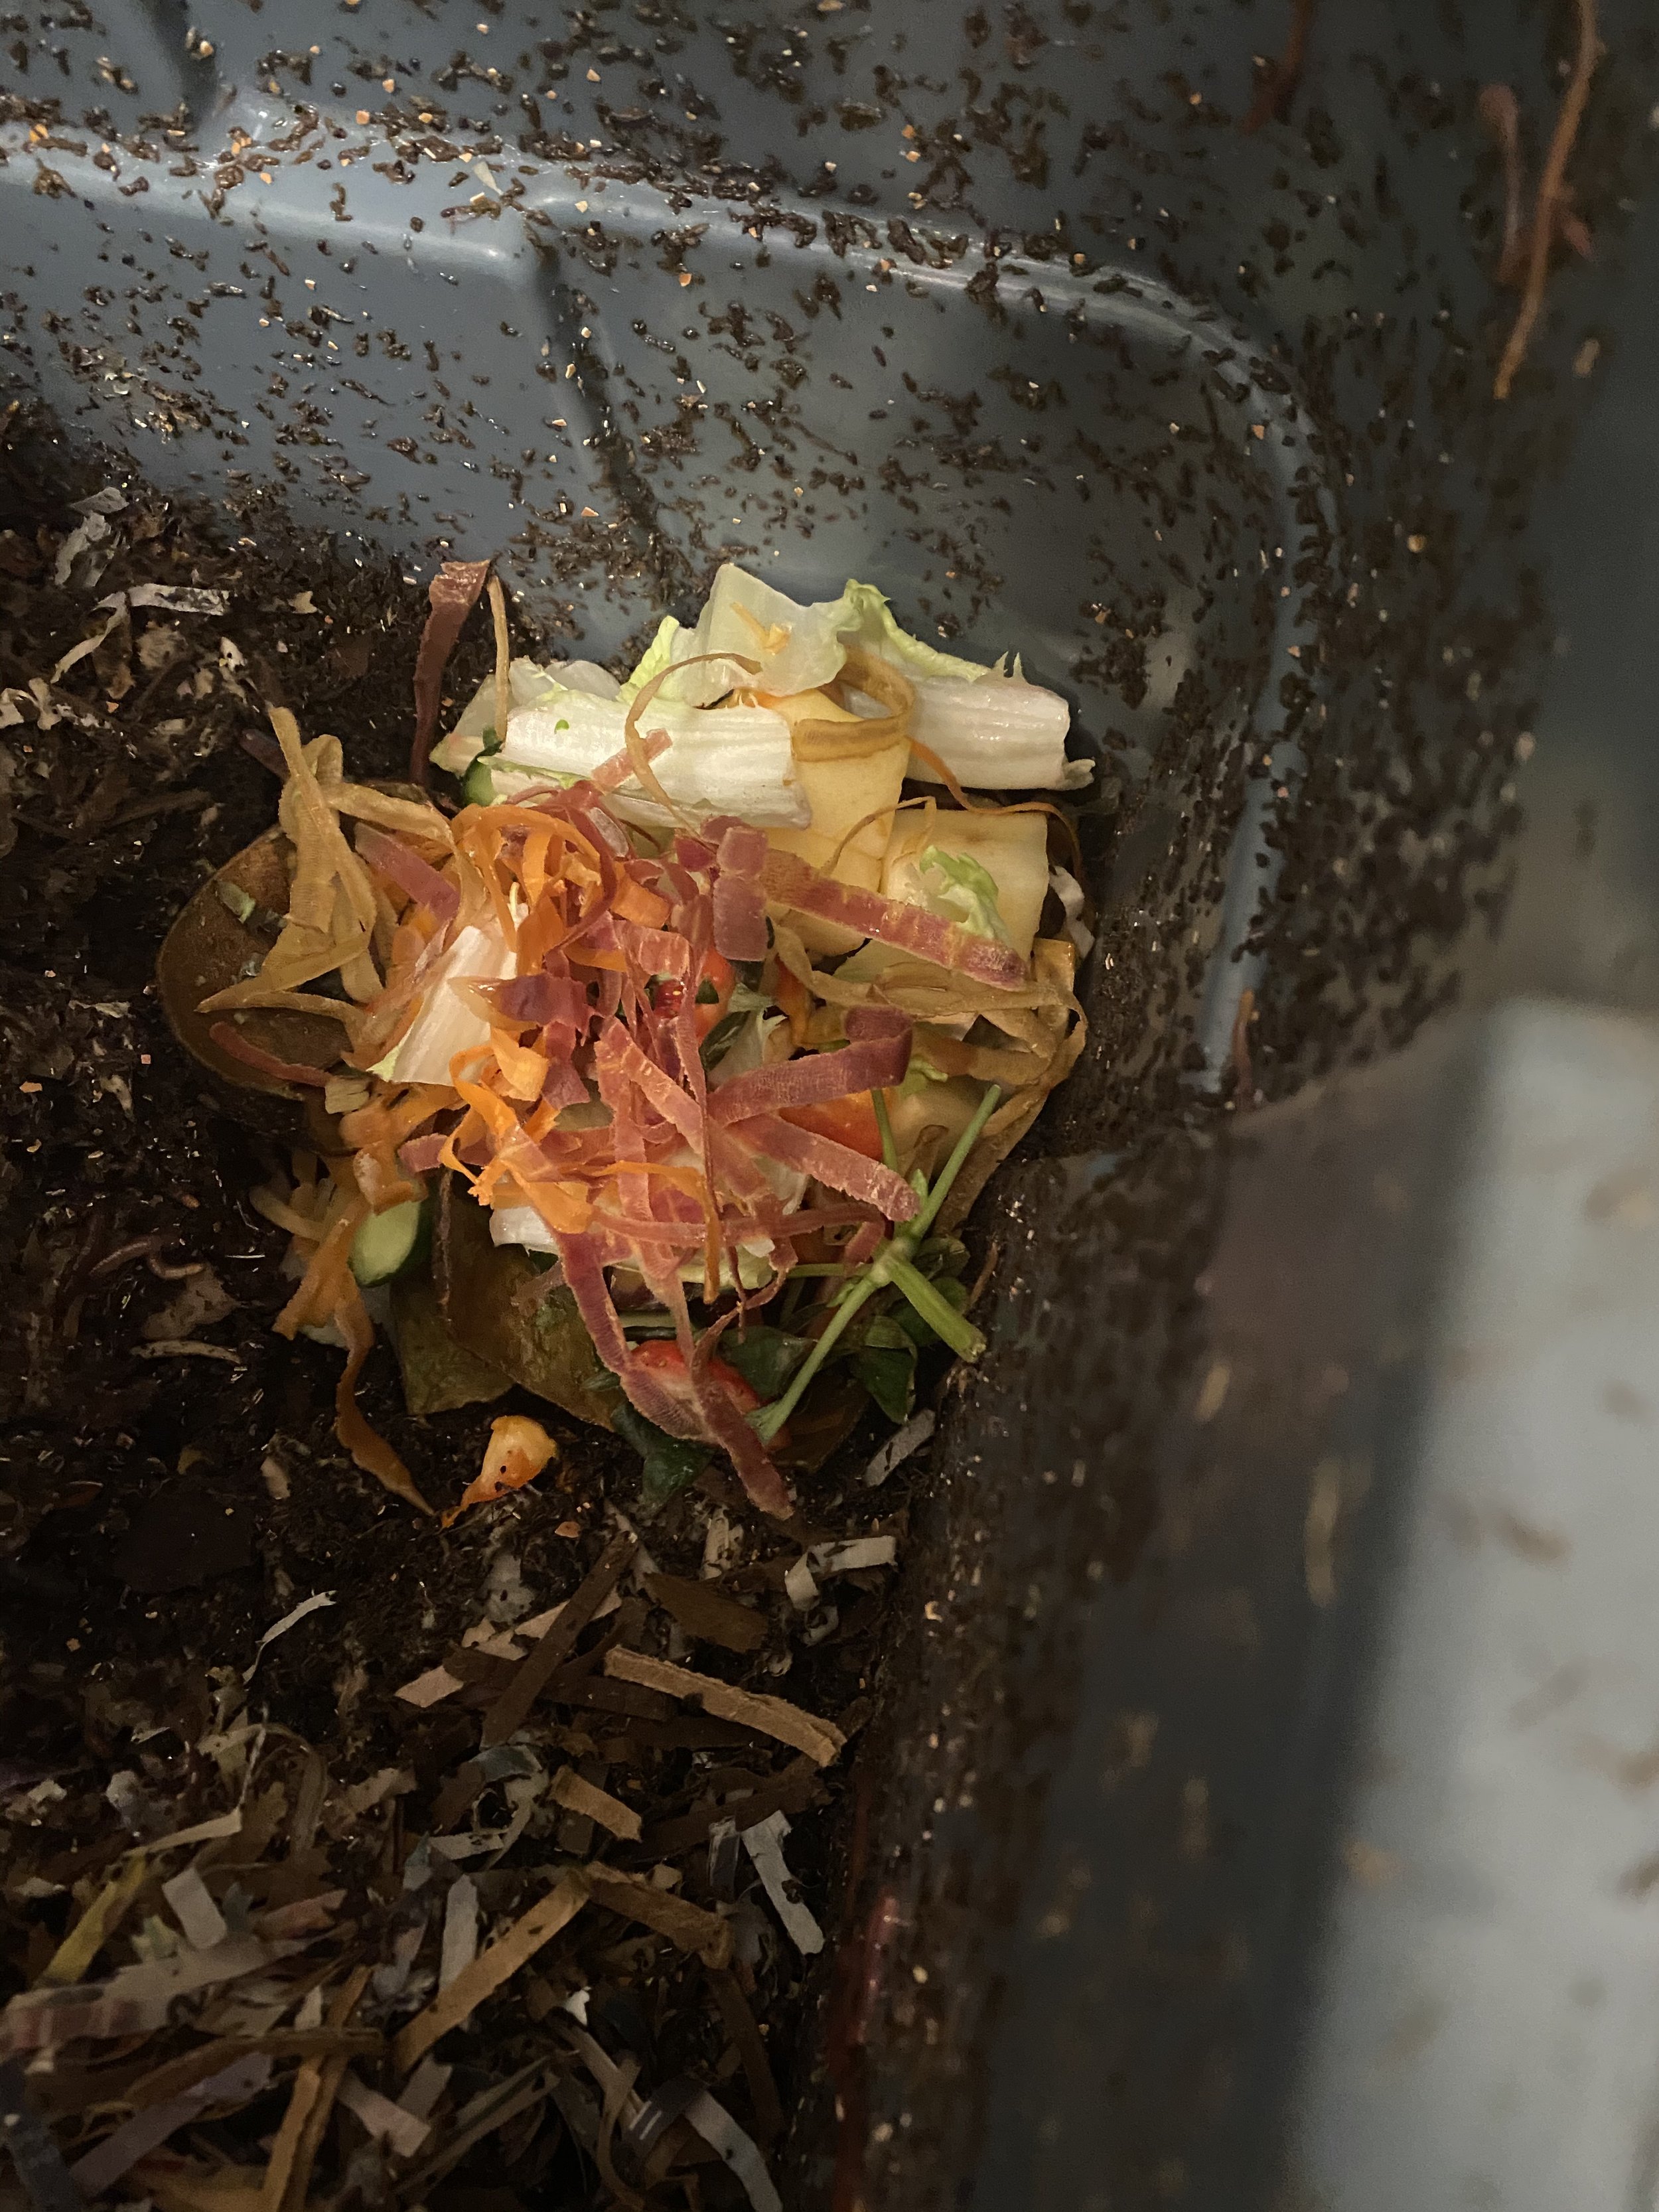
Add food scraps! Bury the scraps under the paper to keep smells at a minimum.
Like outdoor composting you don’t want to add anything that will be stinky. No meat, bones, greasy foods, or dairy.
I’ve found that worms don’t particularly like potatoes, too much citrus or onion. They love avocado but the peels take a VERY long time to break down.
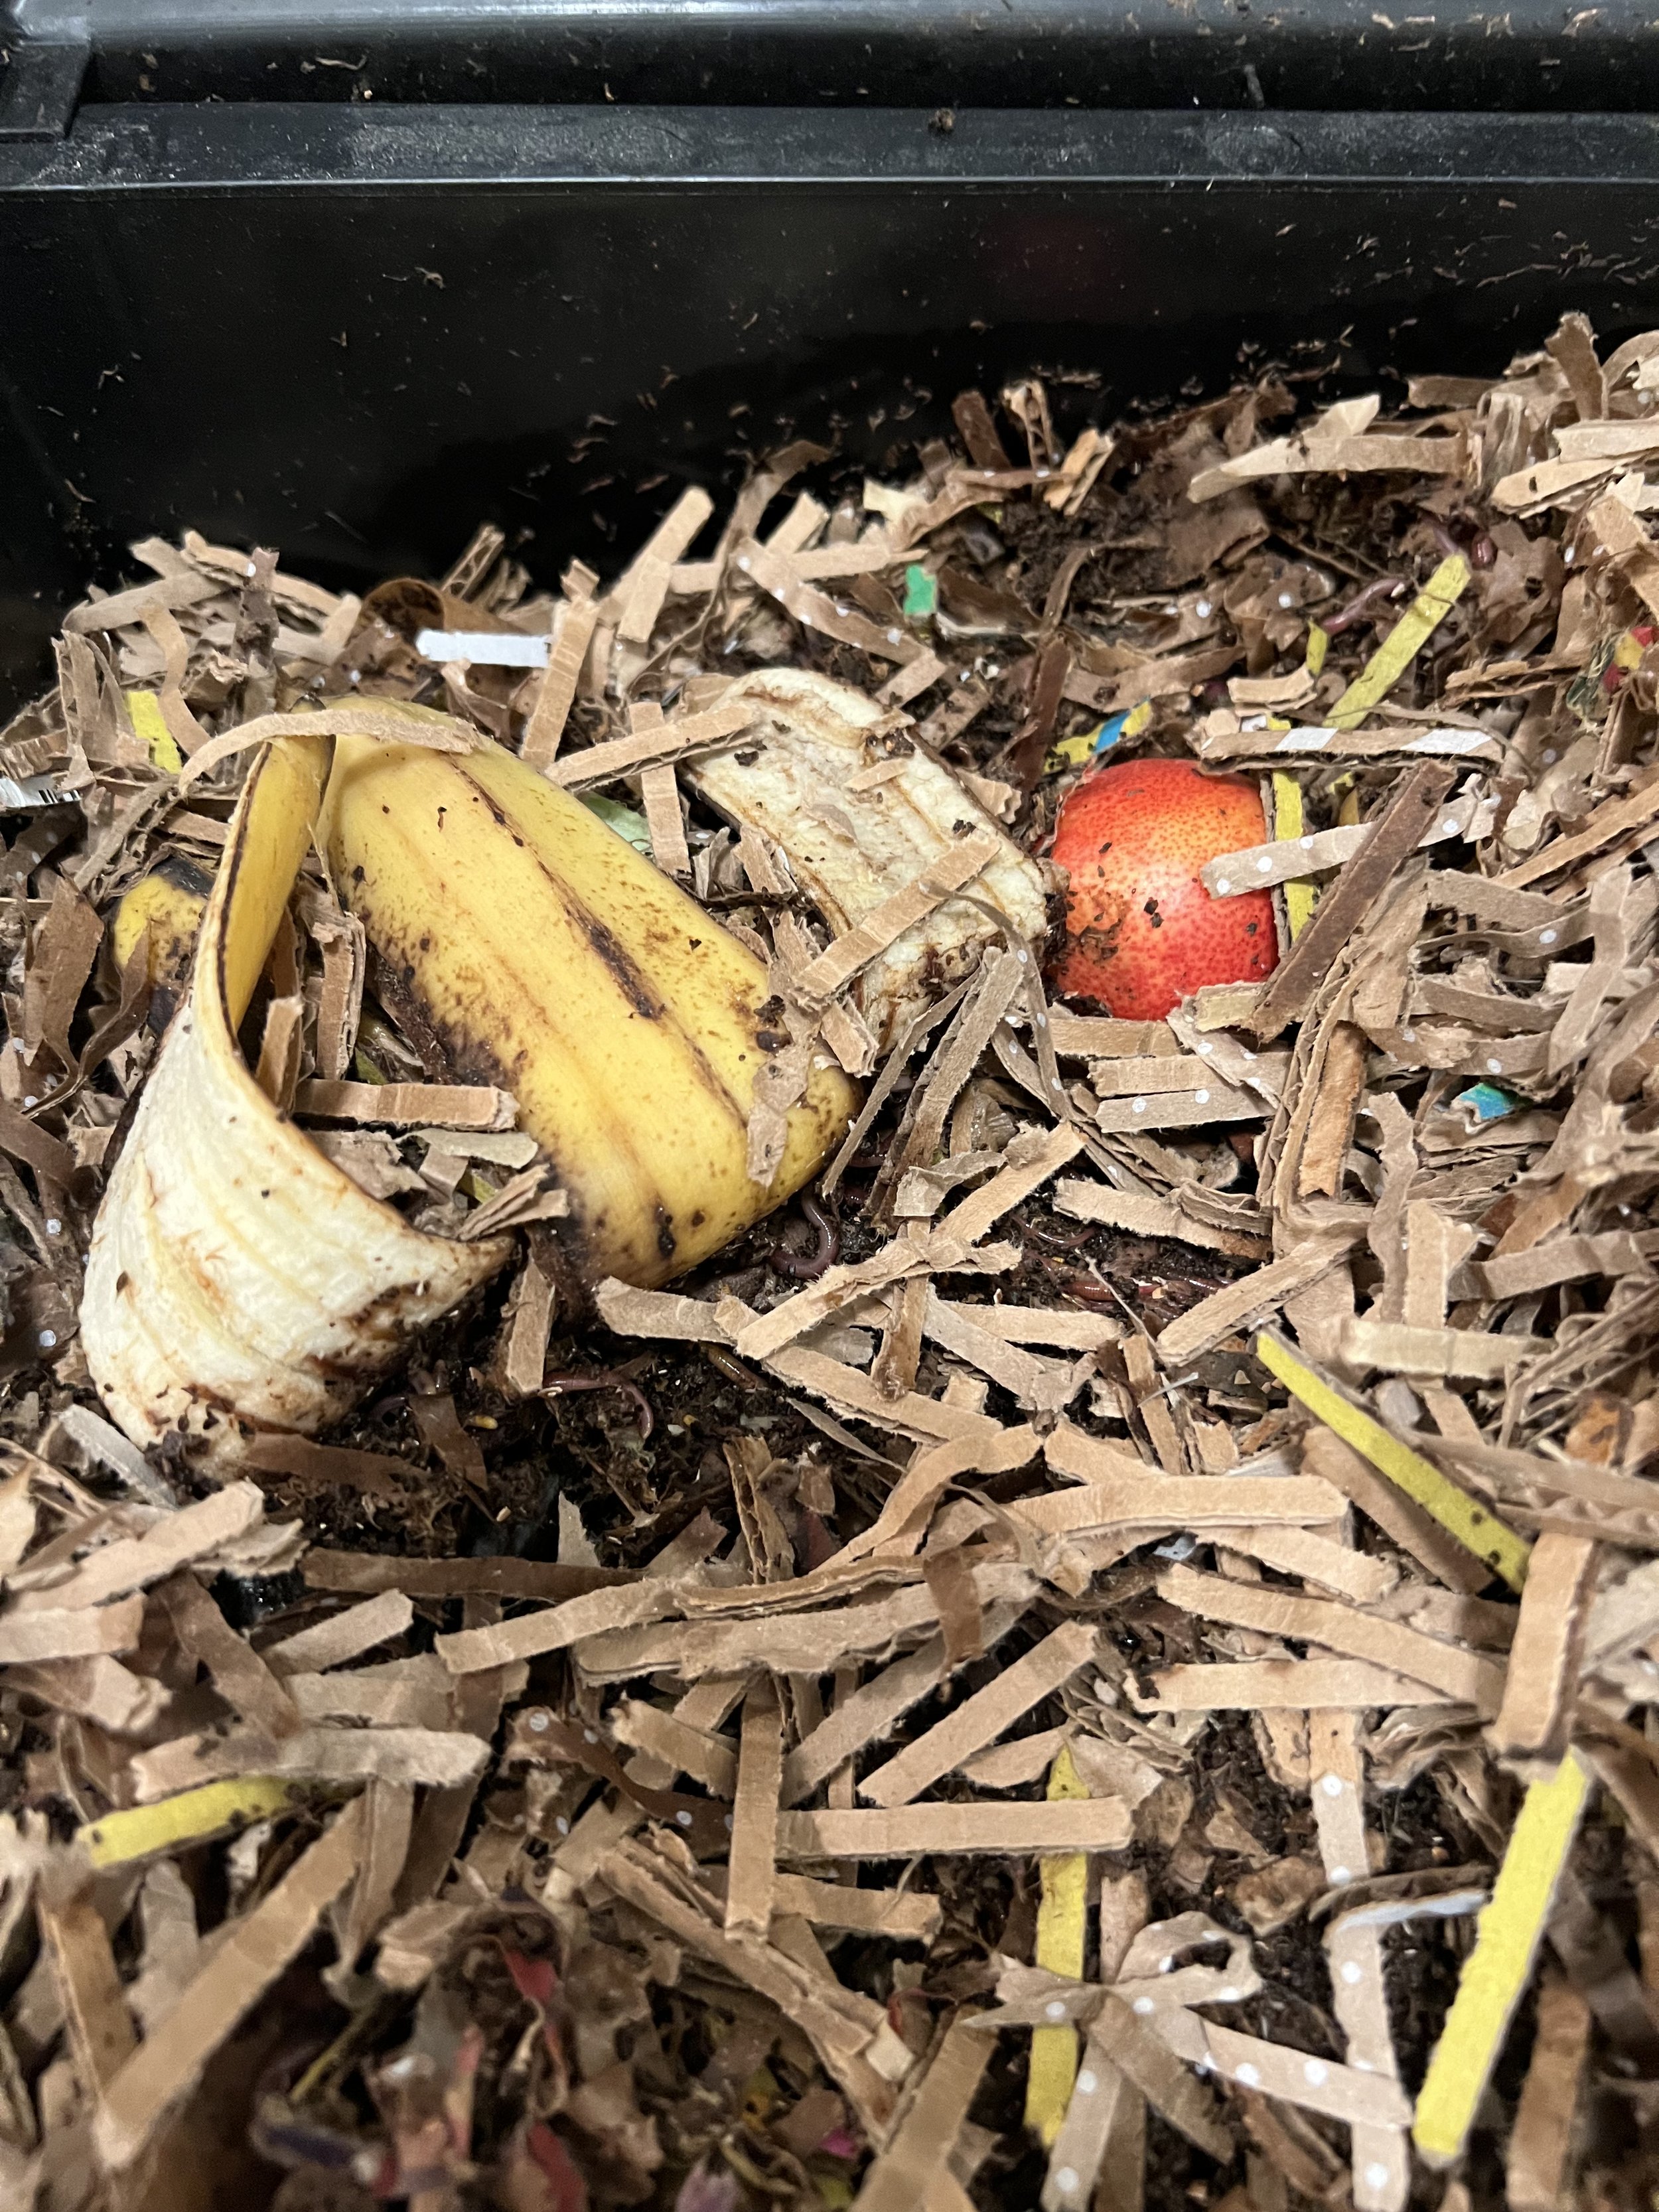
Worms ABSOLUTELY LOVE melon, pumpkin and other winter squash, banana peels, and coffee grounds.
The smaller the food pieces, the faster they will eat it.
Cover your bin. You can place a layer of cardboard or paper on top to help keep the worms and moisture in. Then cover with the lid to the box.

Feeding
You can feed your worms in a couple of ways.
This is the best way to feed your worms in a new bin. Start in one corner of your bin and bury a small amount of scraps. Continue feeding in a circular pattern burying the scraps one corner at a time. Continue adding dry bedding (carbon) on top of each feeding location. By the time you get to your starting position, the food should be gone. If it is not, wait until it is mostly unrecognizable and then continue feeding.
This one works if you have a lot of worms. Collect a semi large quantity of food scraps. Mix it into your bin with dry bedding then cover with dry bedding. Wait a few weeks for the food to become mostly unrecognizable and then repeat.
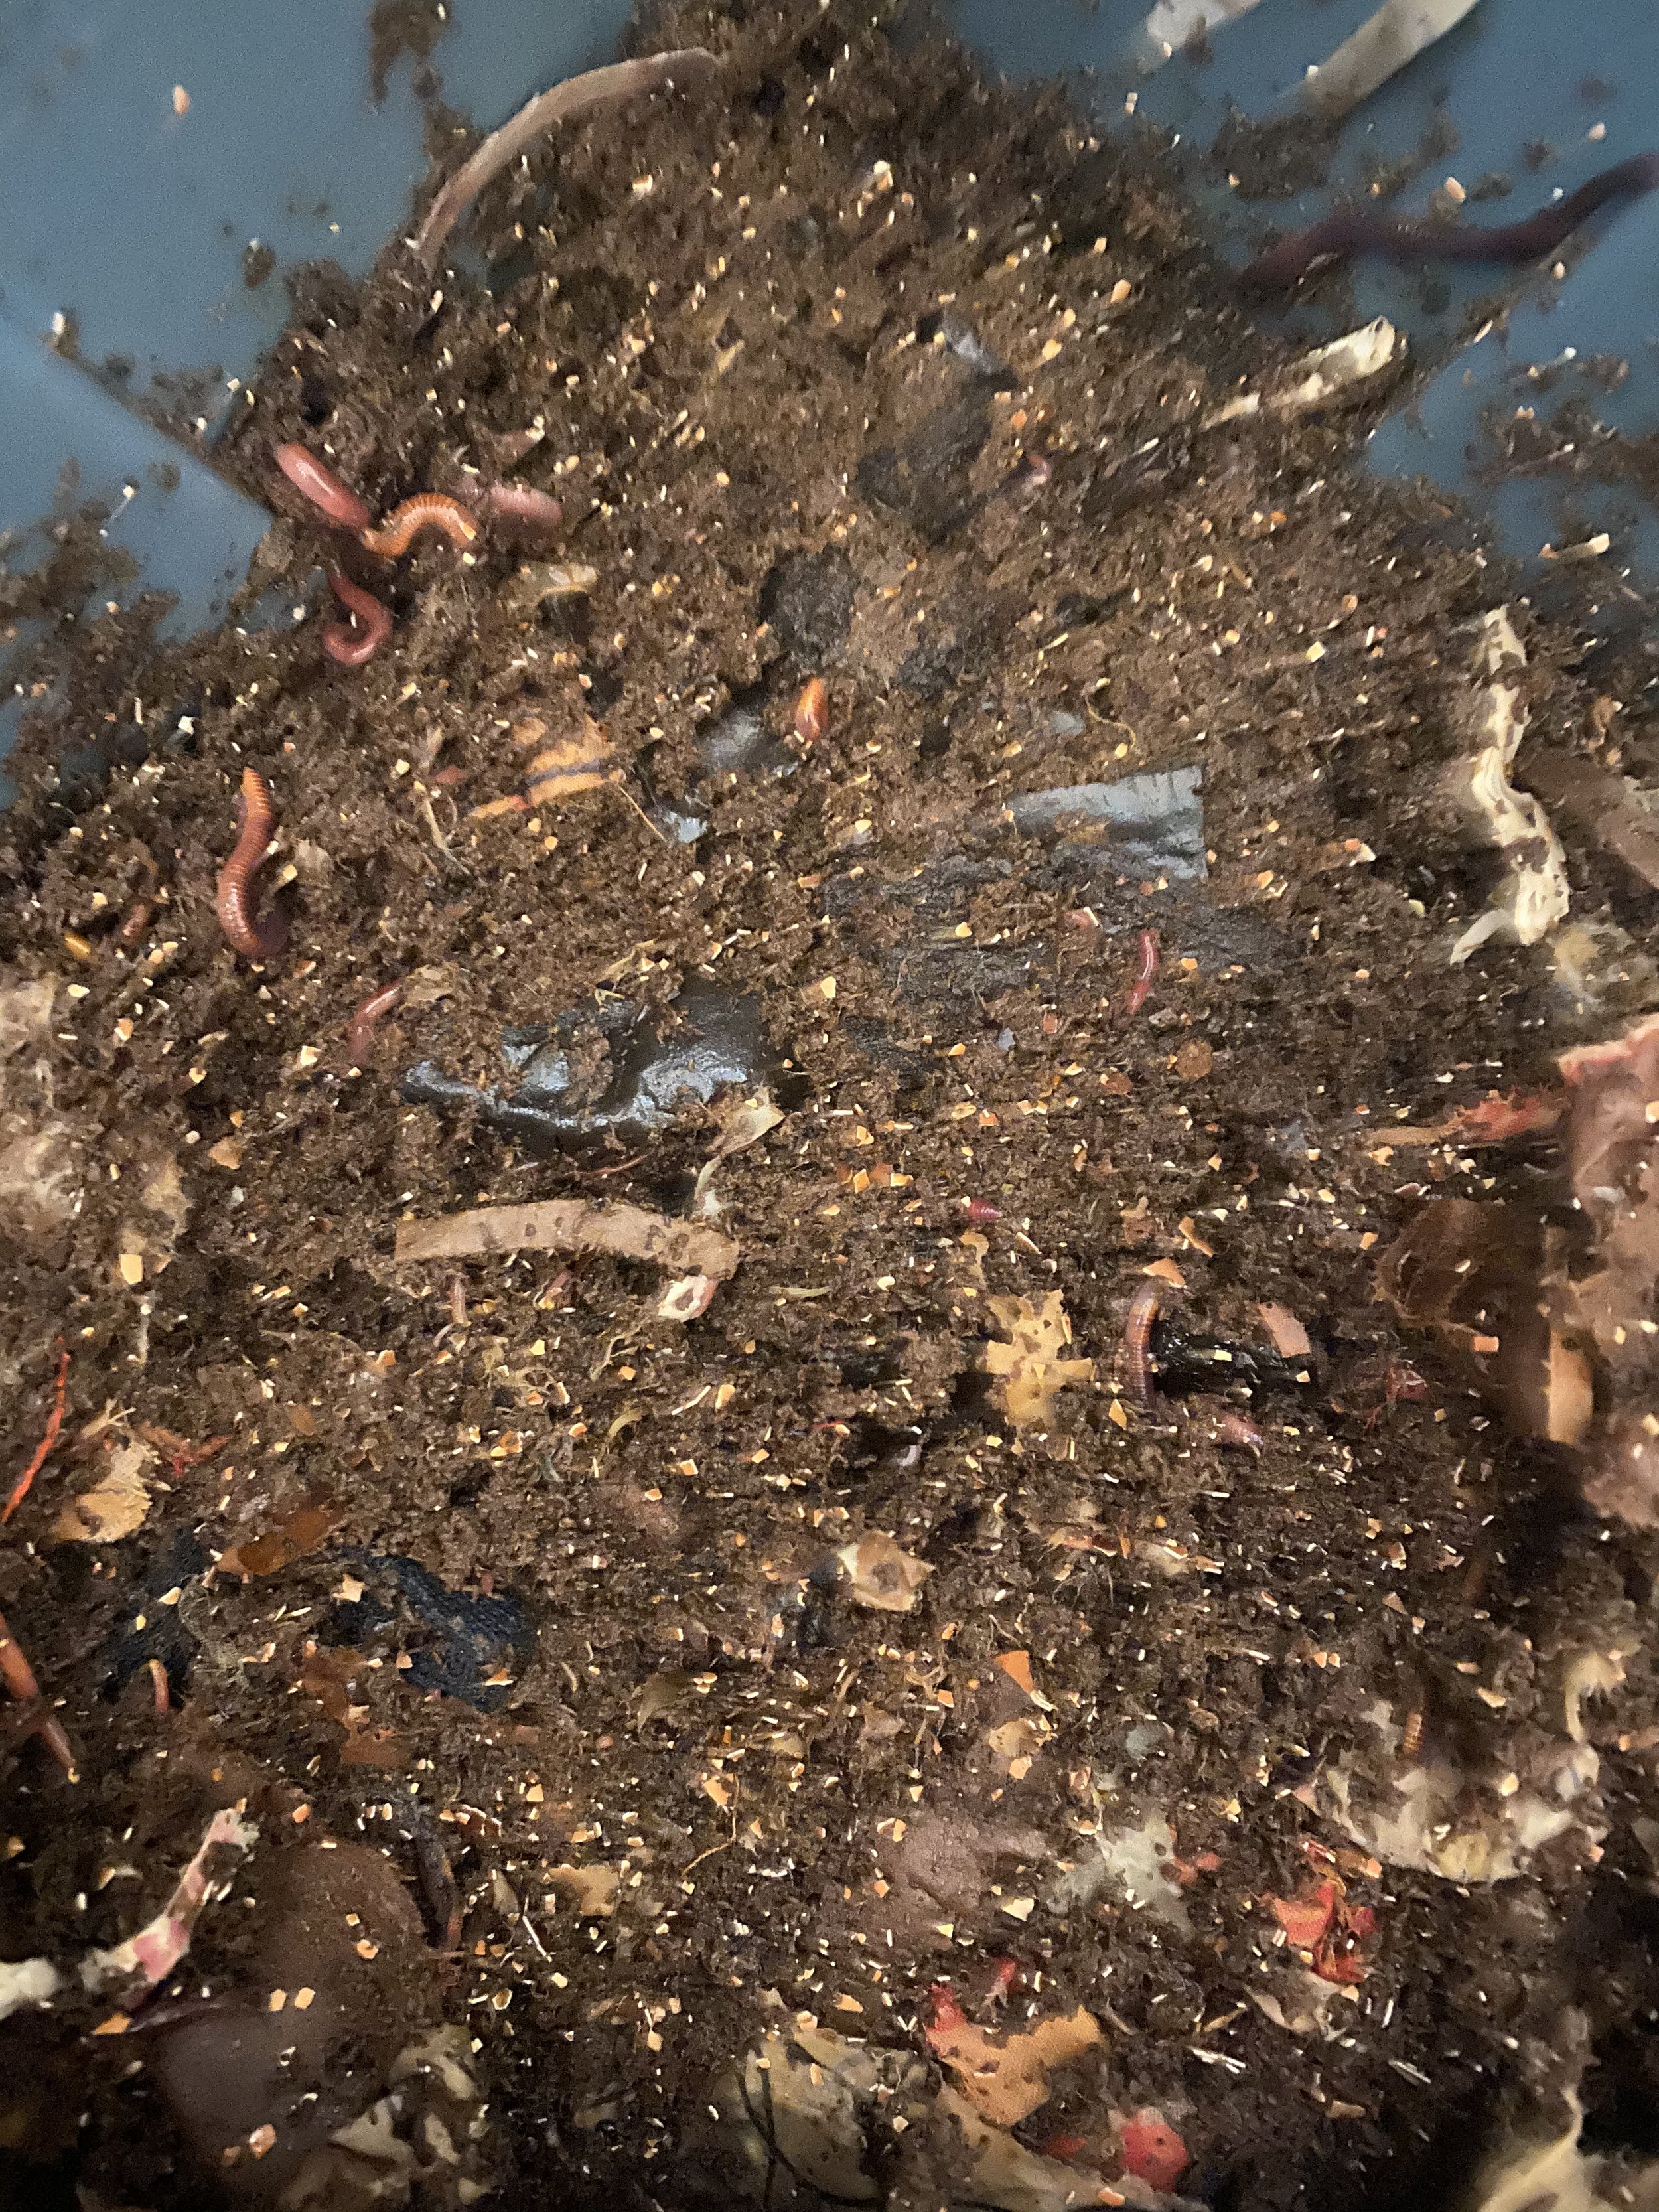
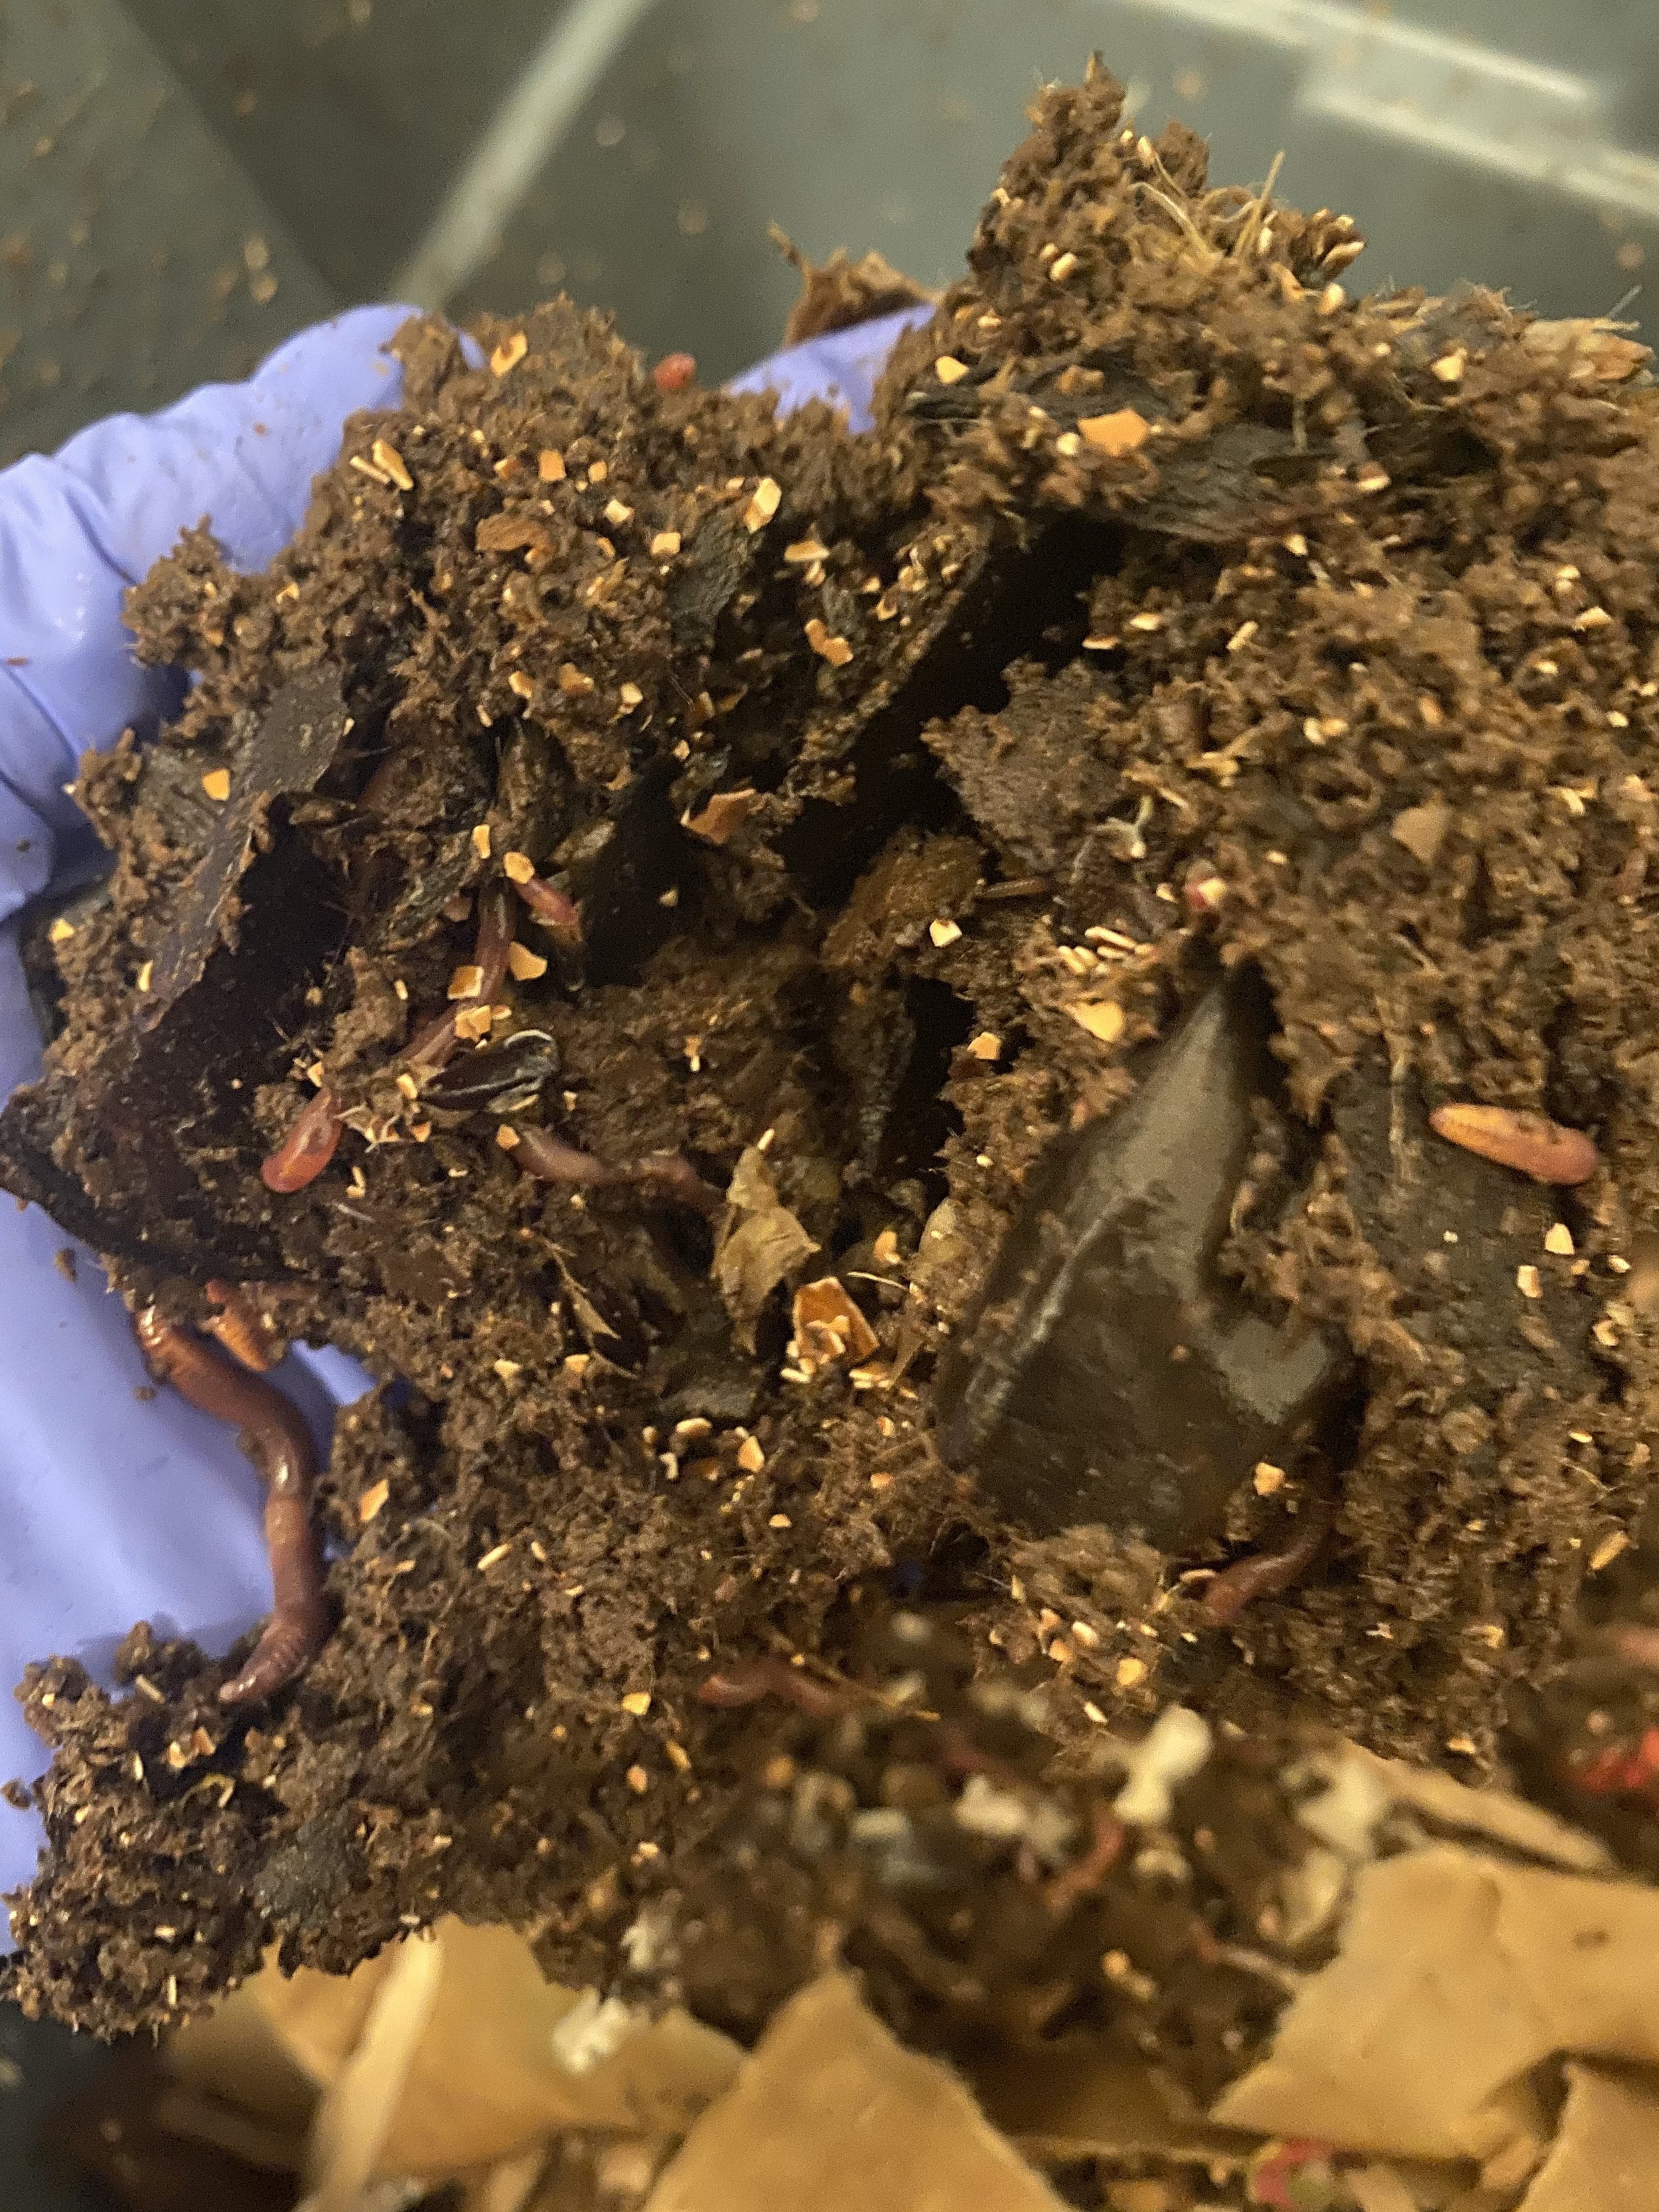
Harvesting
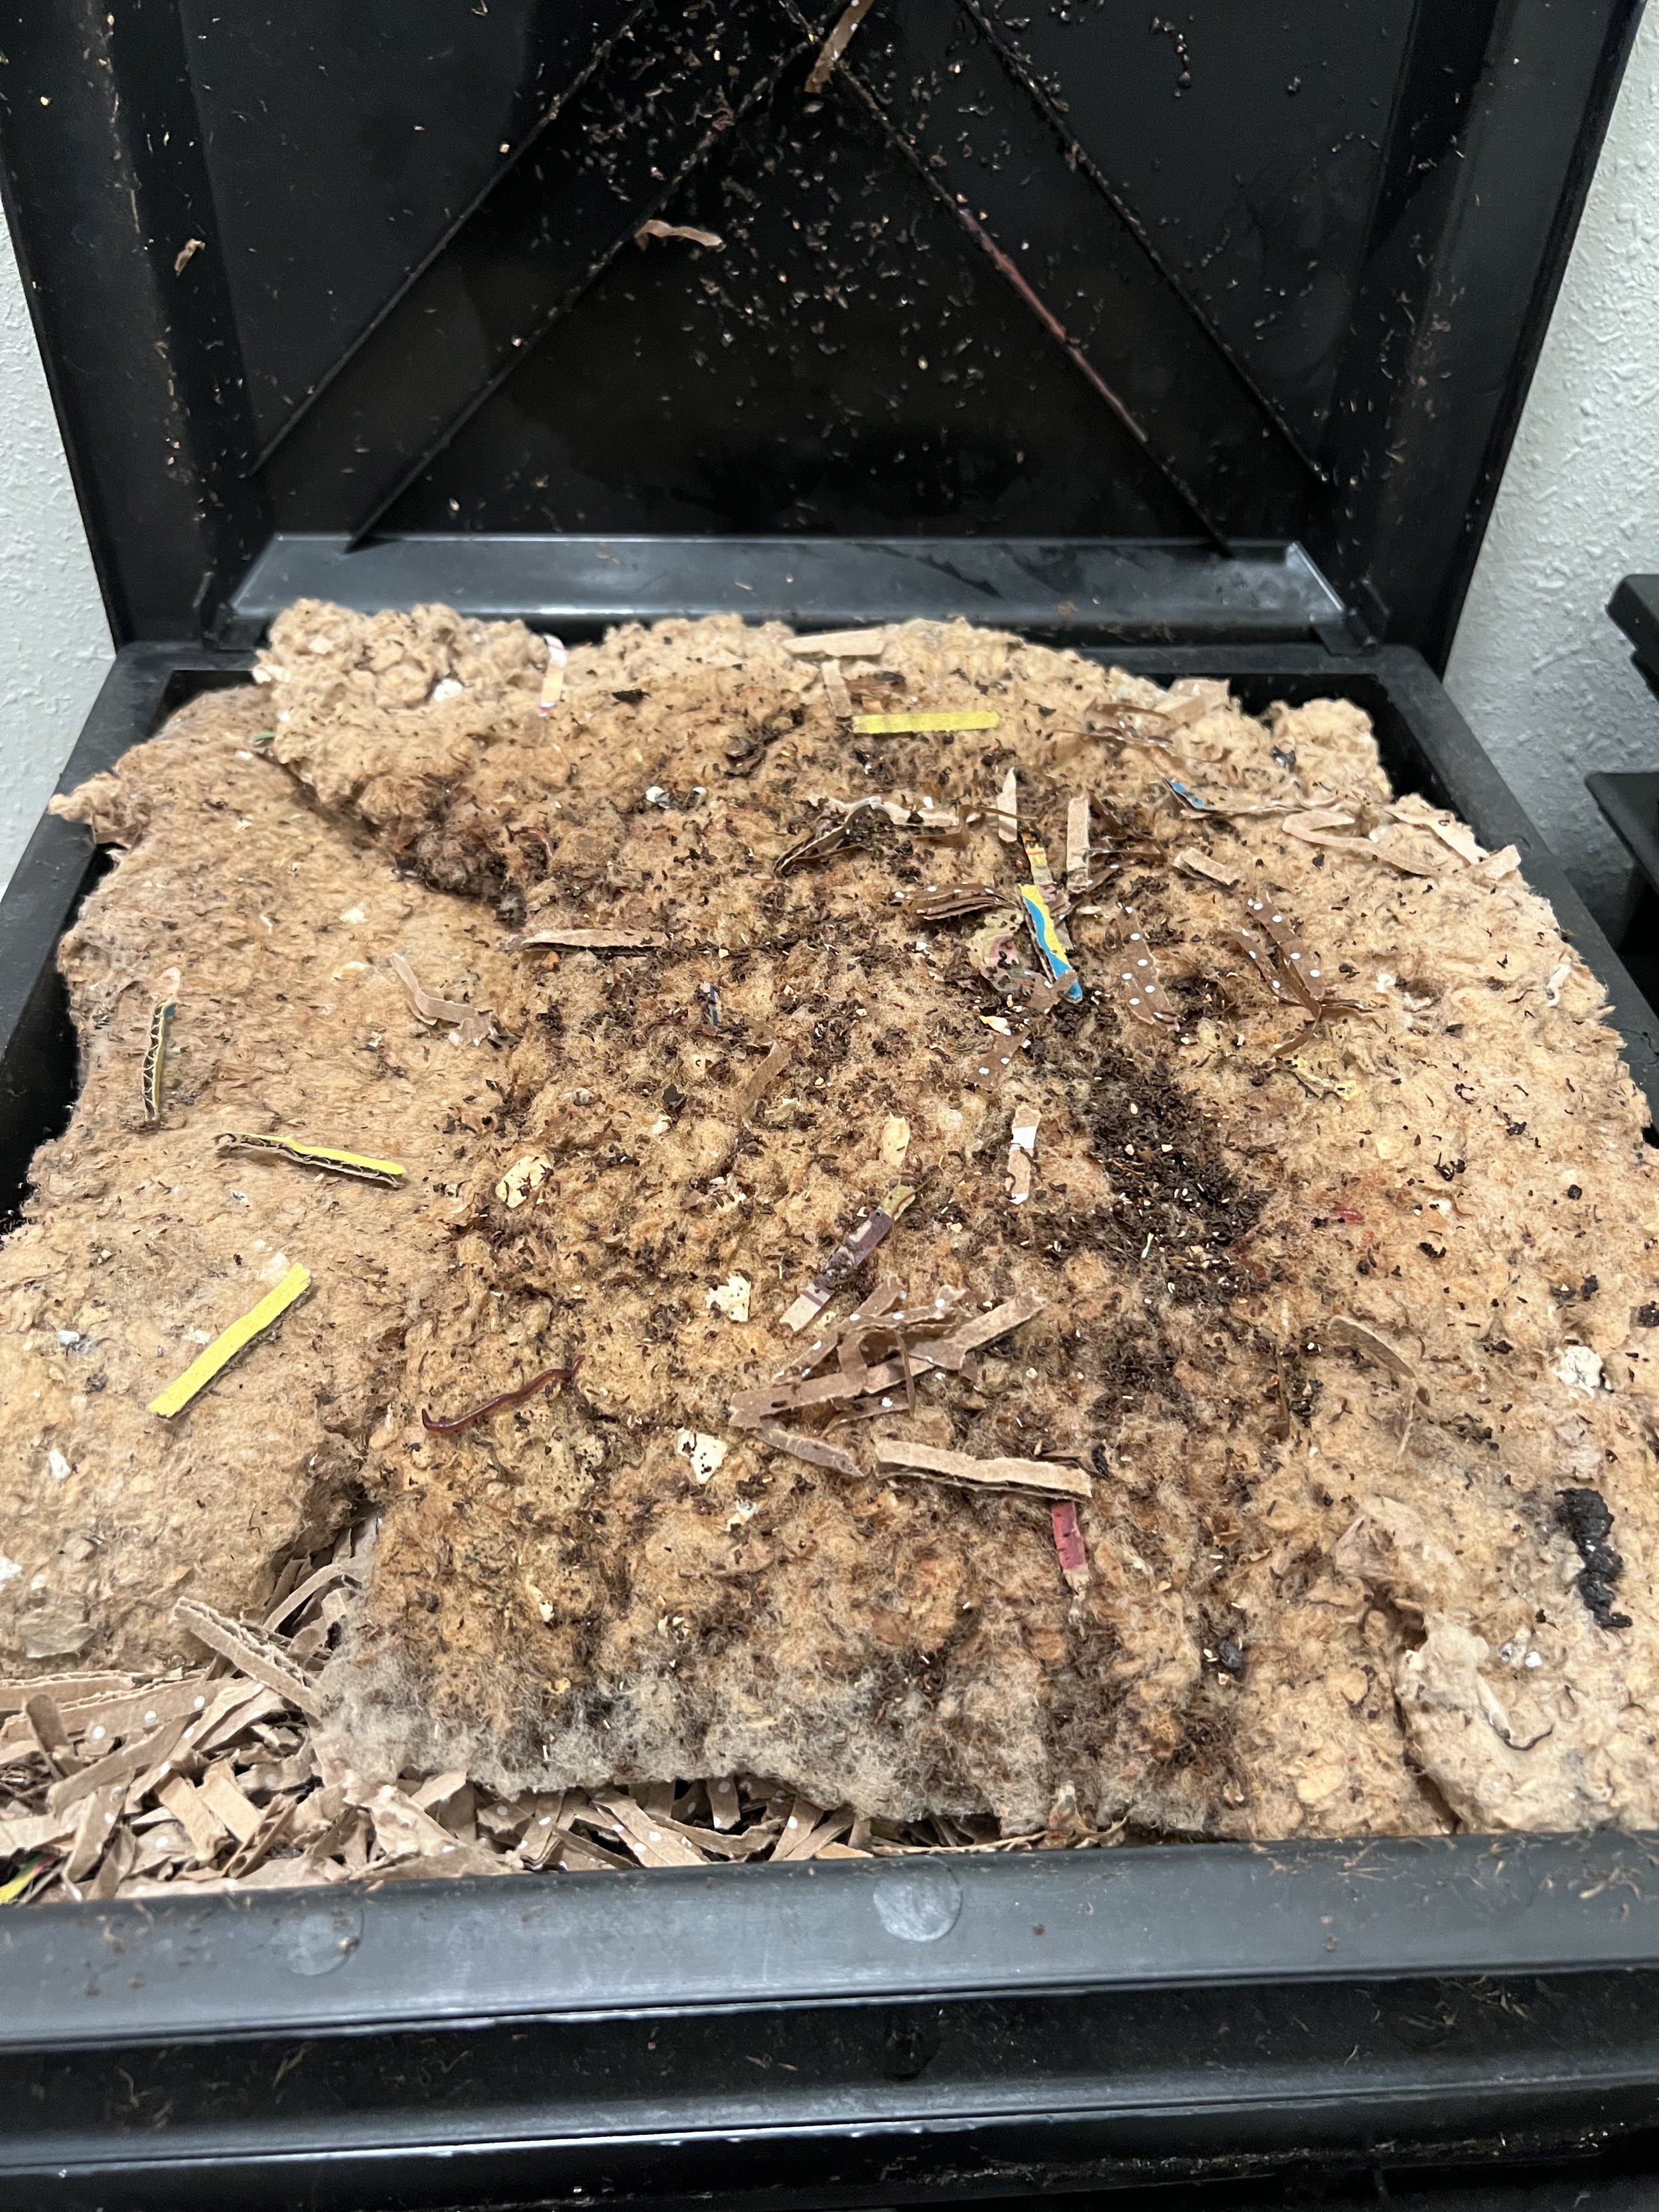
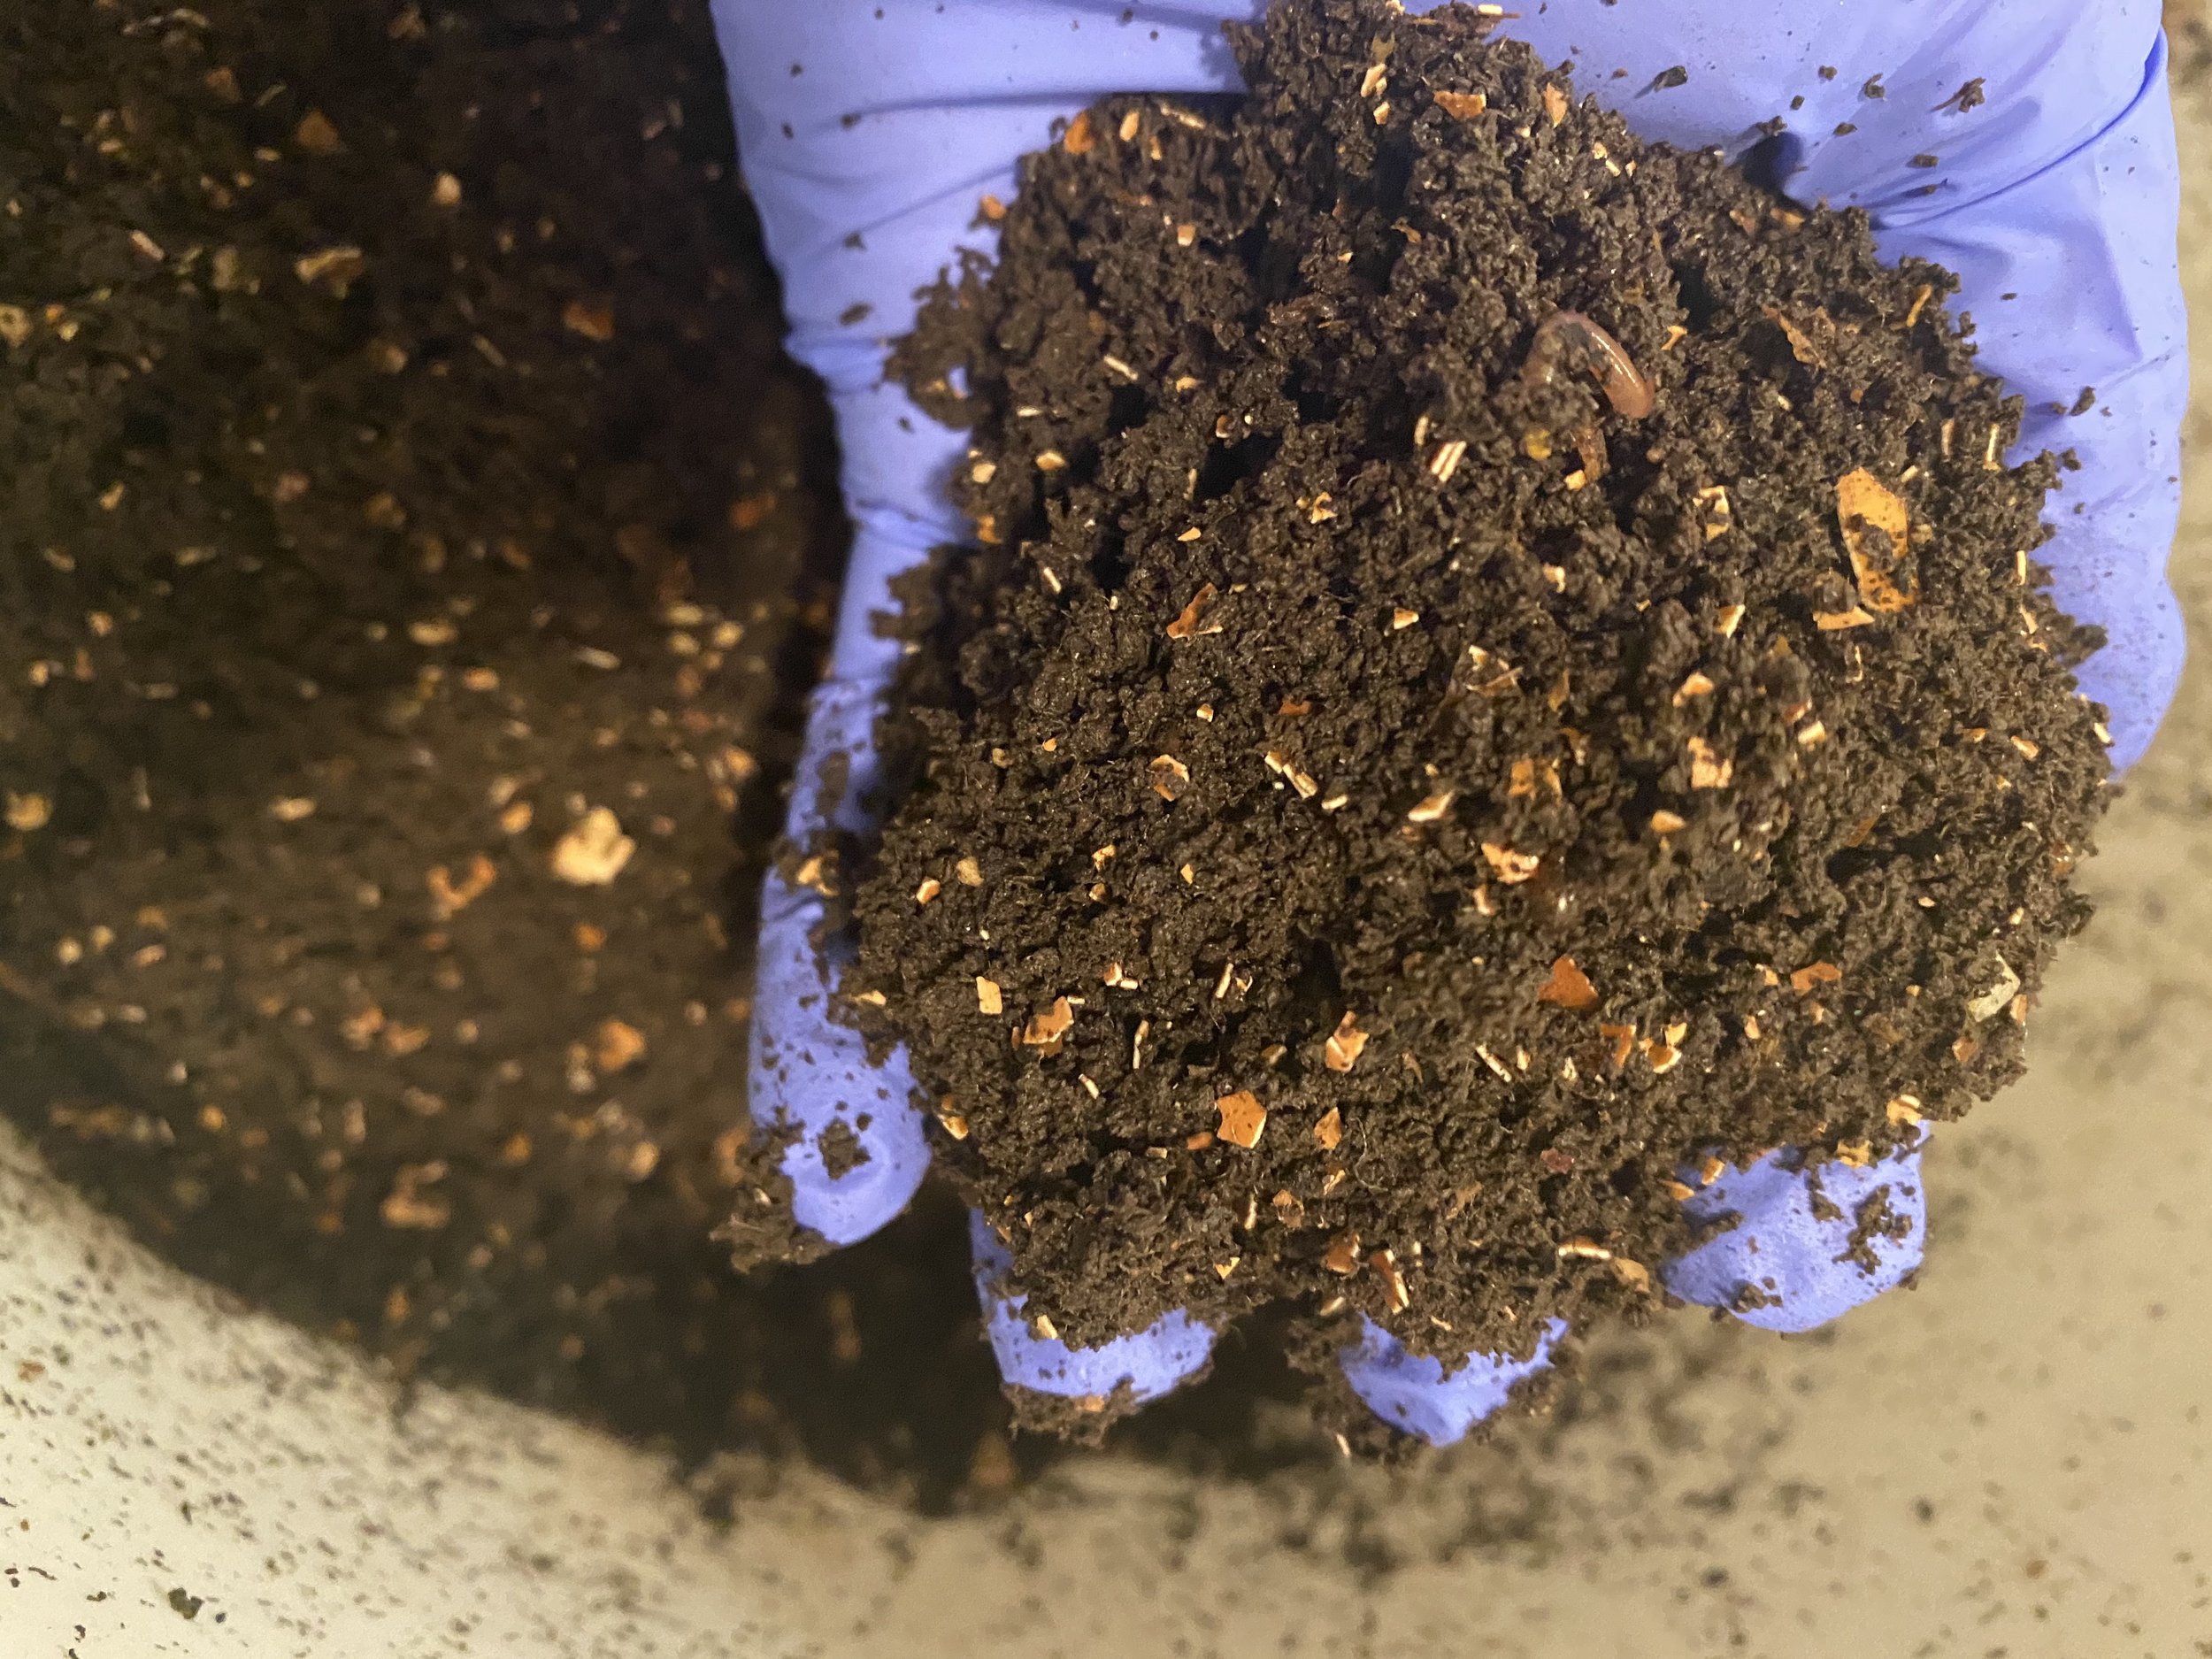
You’ll know it’s time to harvest when your bin looks primarily like rich, dark soil. This usually takes between 3 and 6 months.
If you have a single bin system:
Push all of your material to one side of the bin. Fill the rest of the bin with fresh bedding and food.
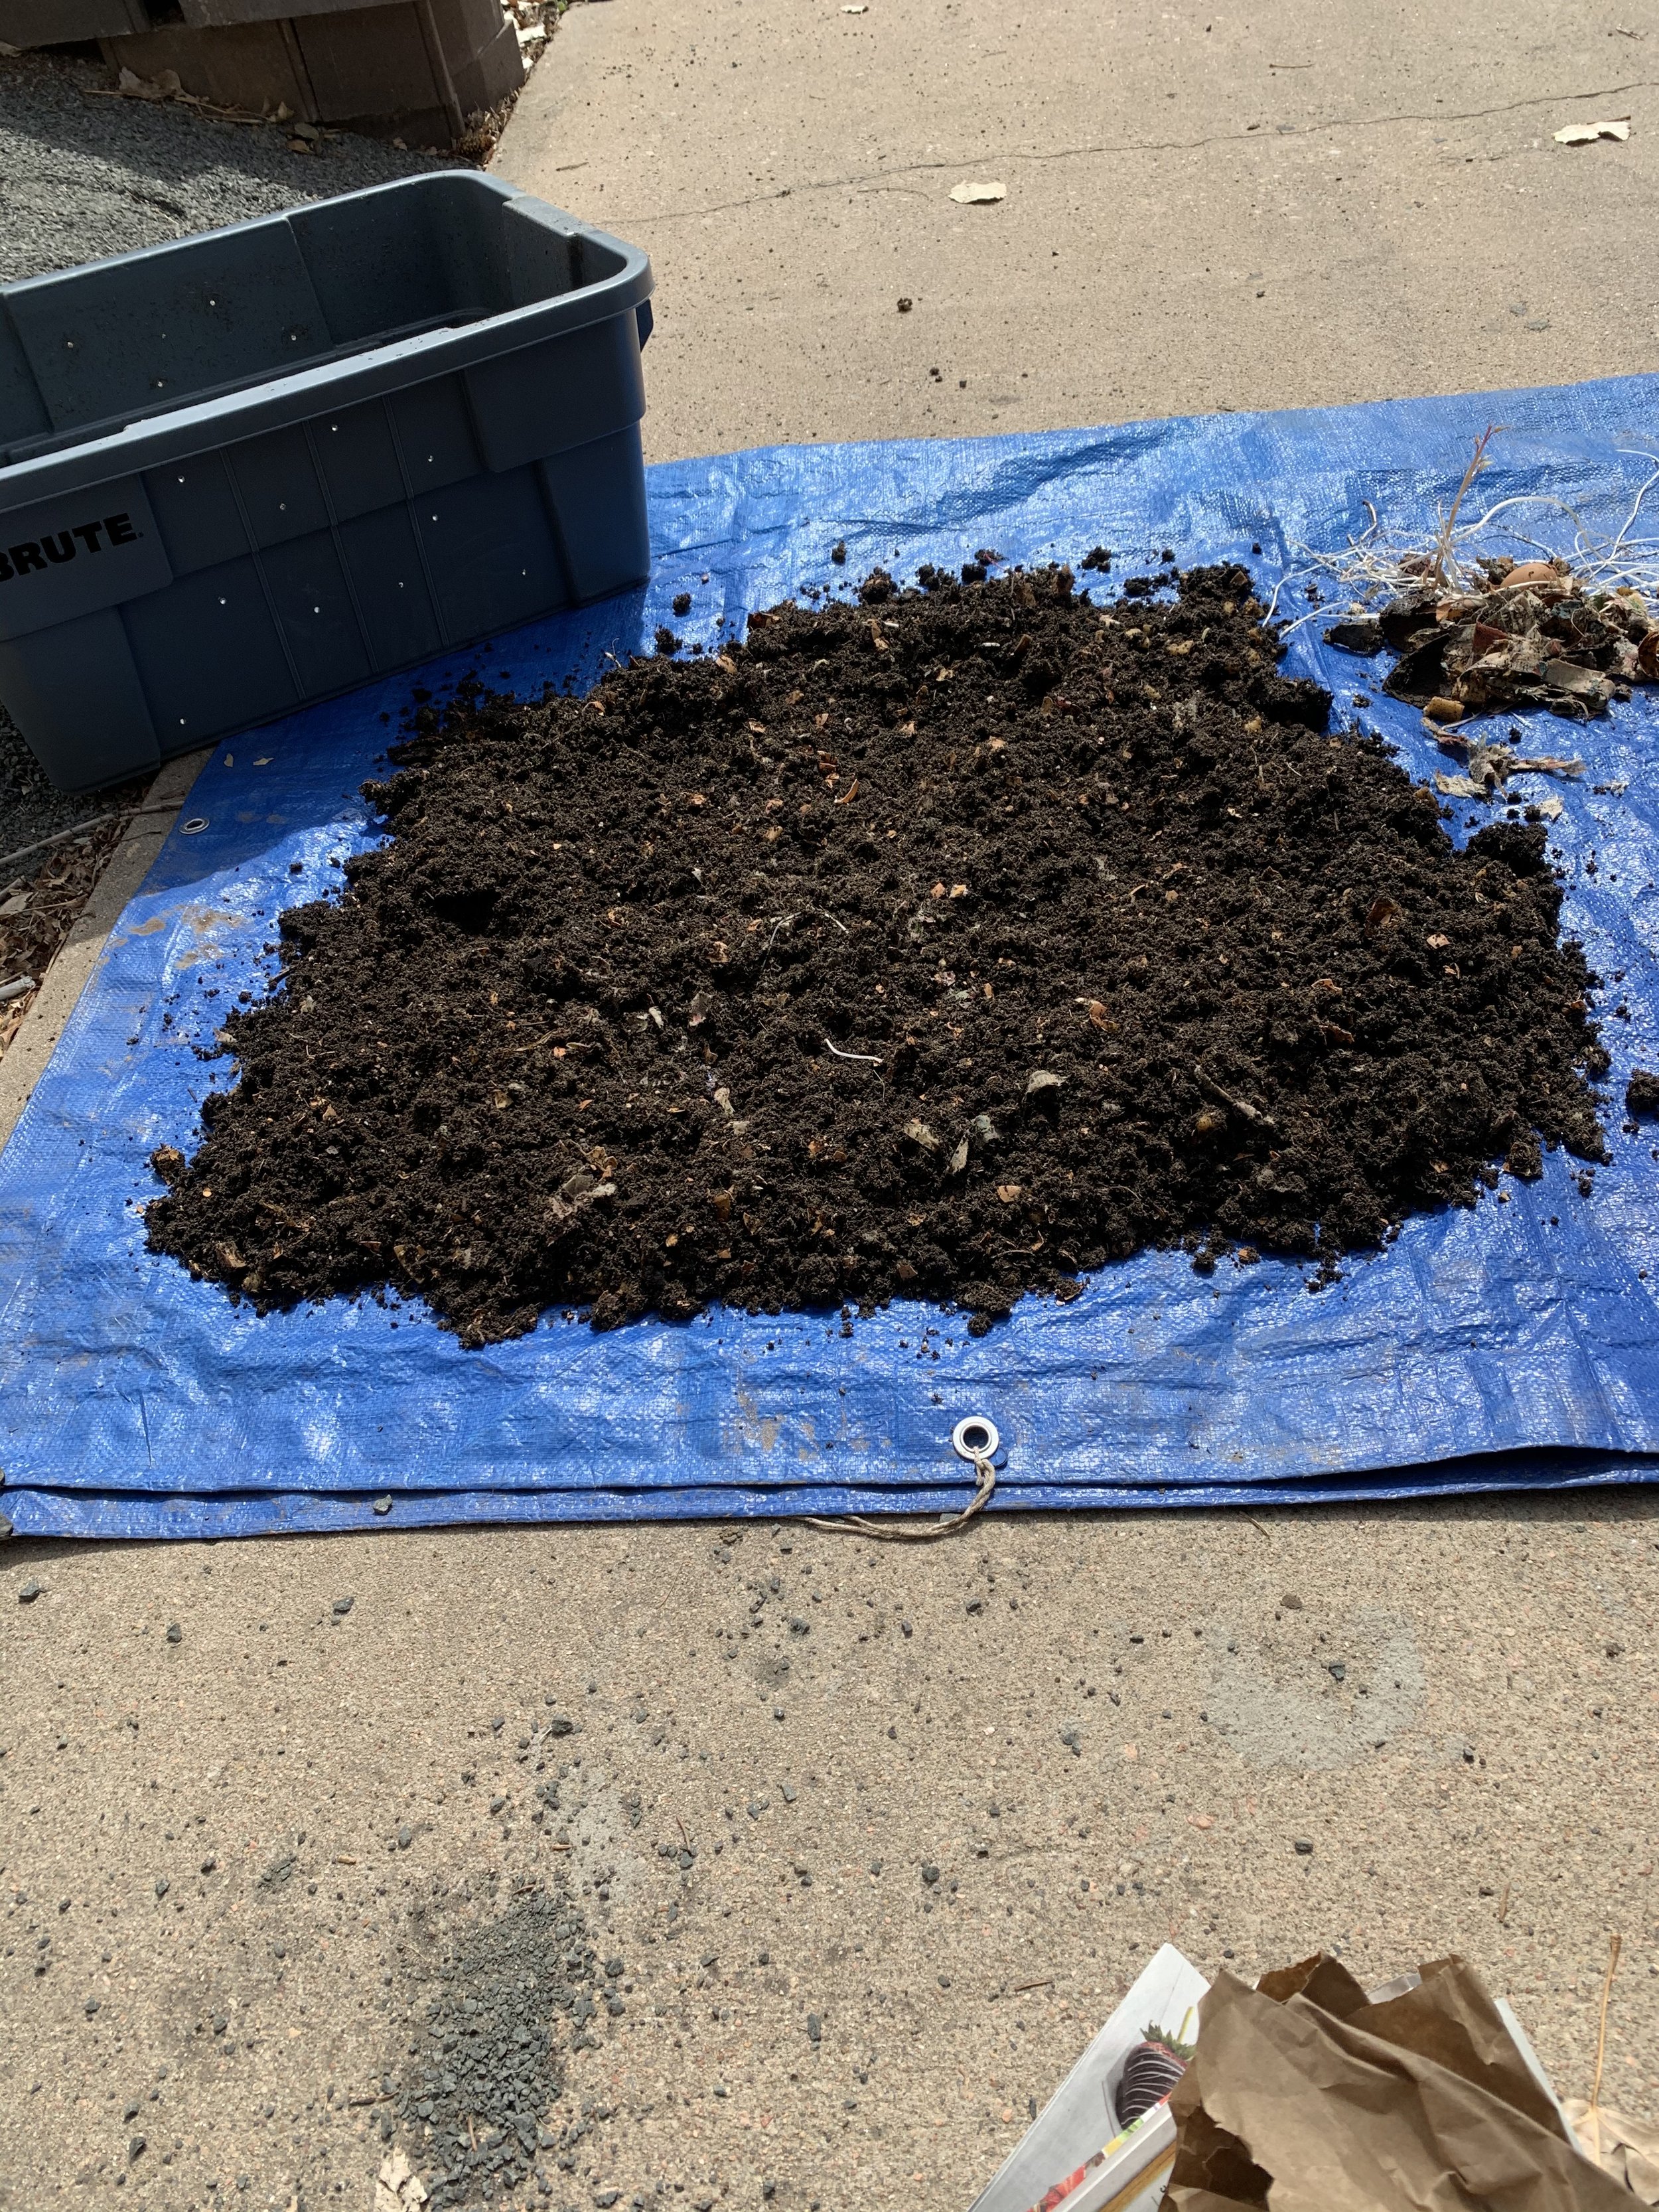
After 2-4 weeks, remove all of the finished compost from the bin.
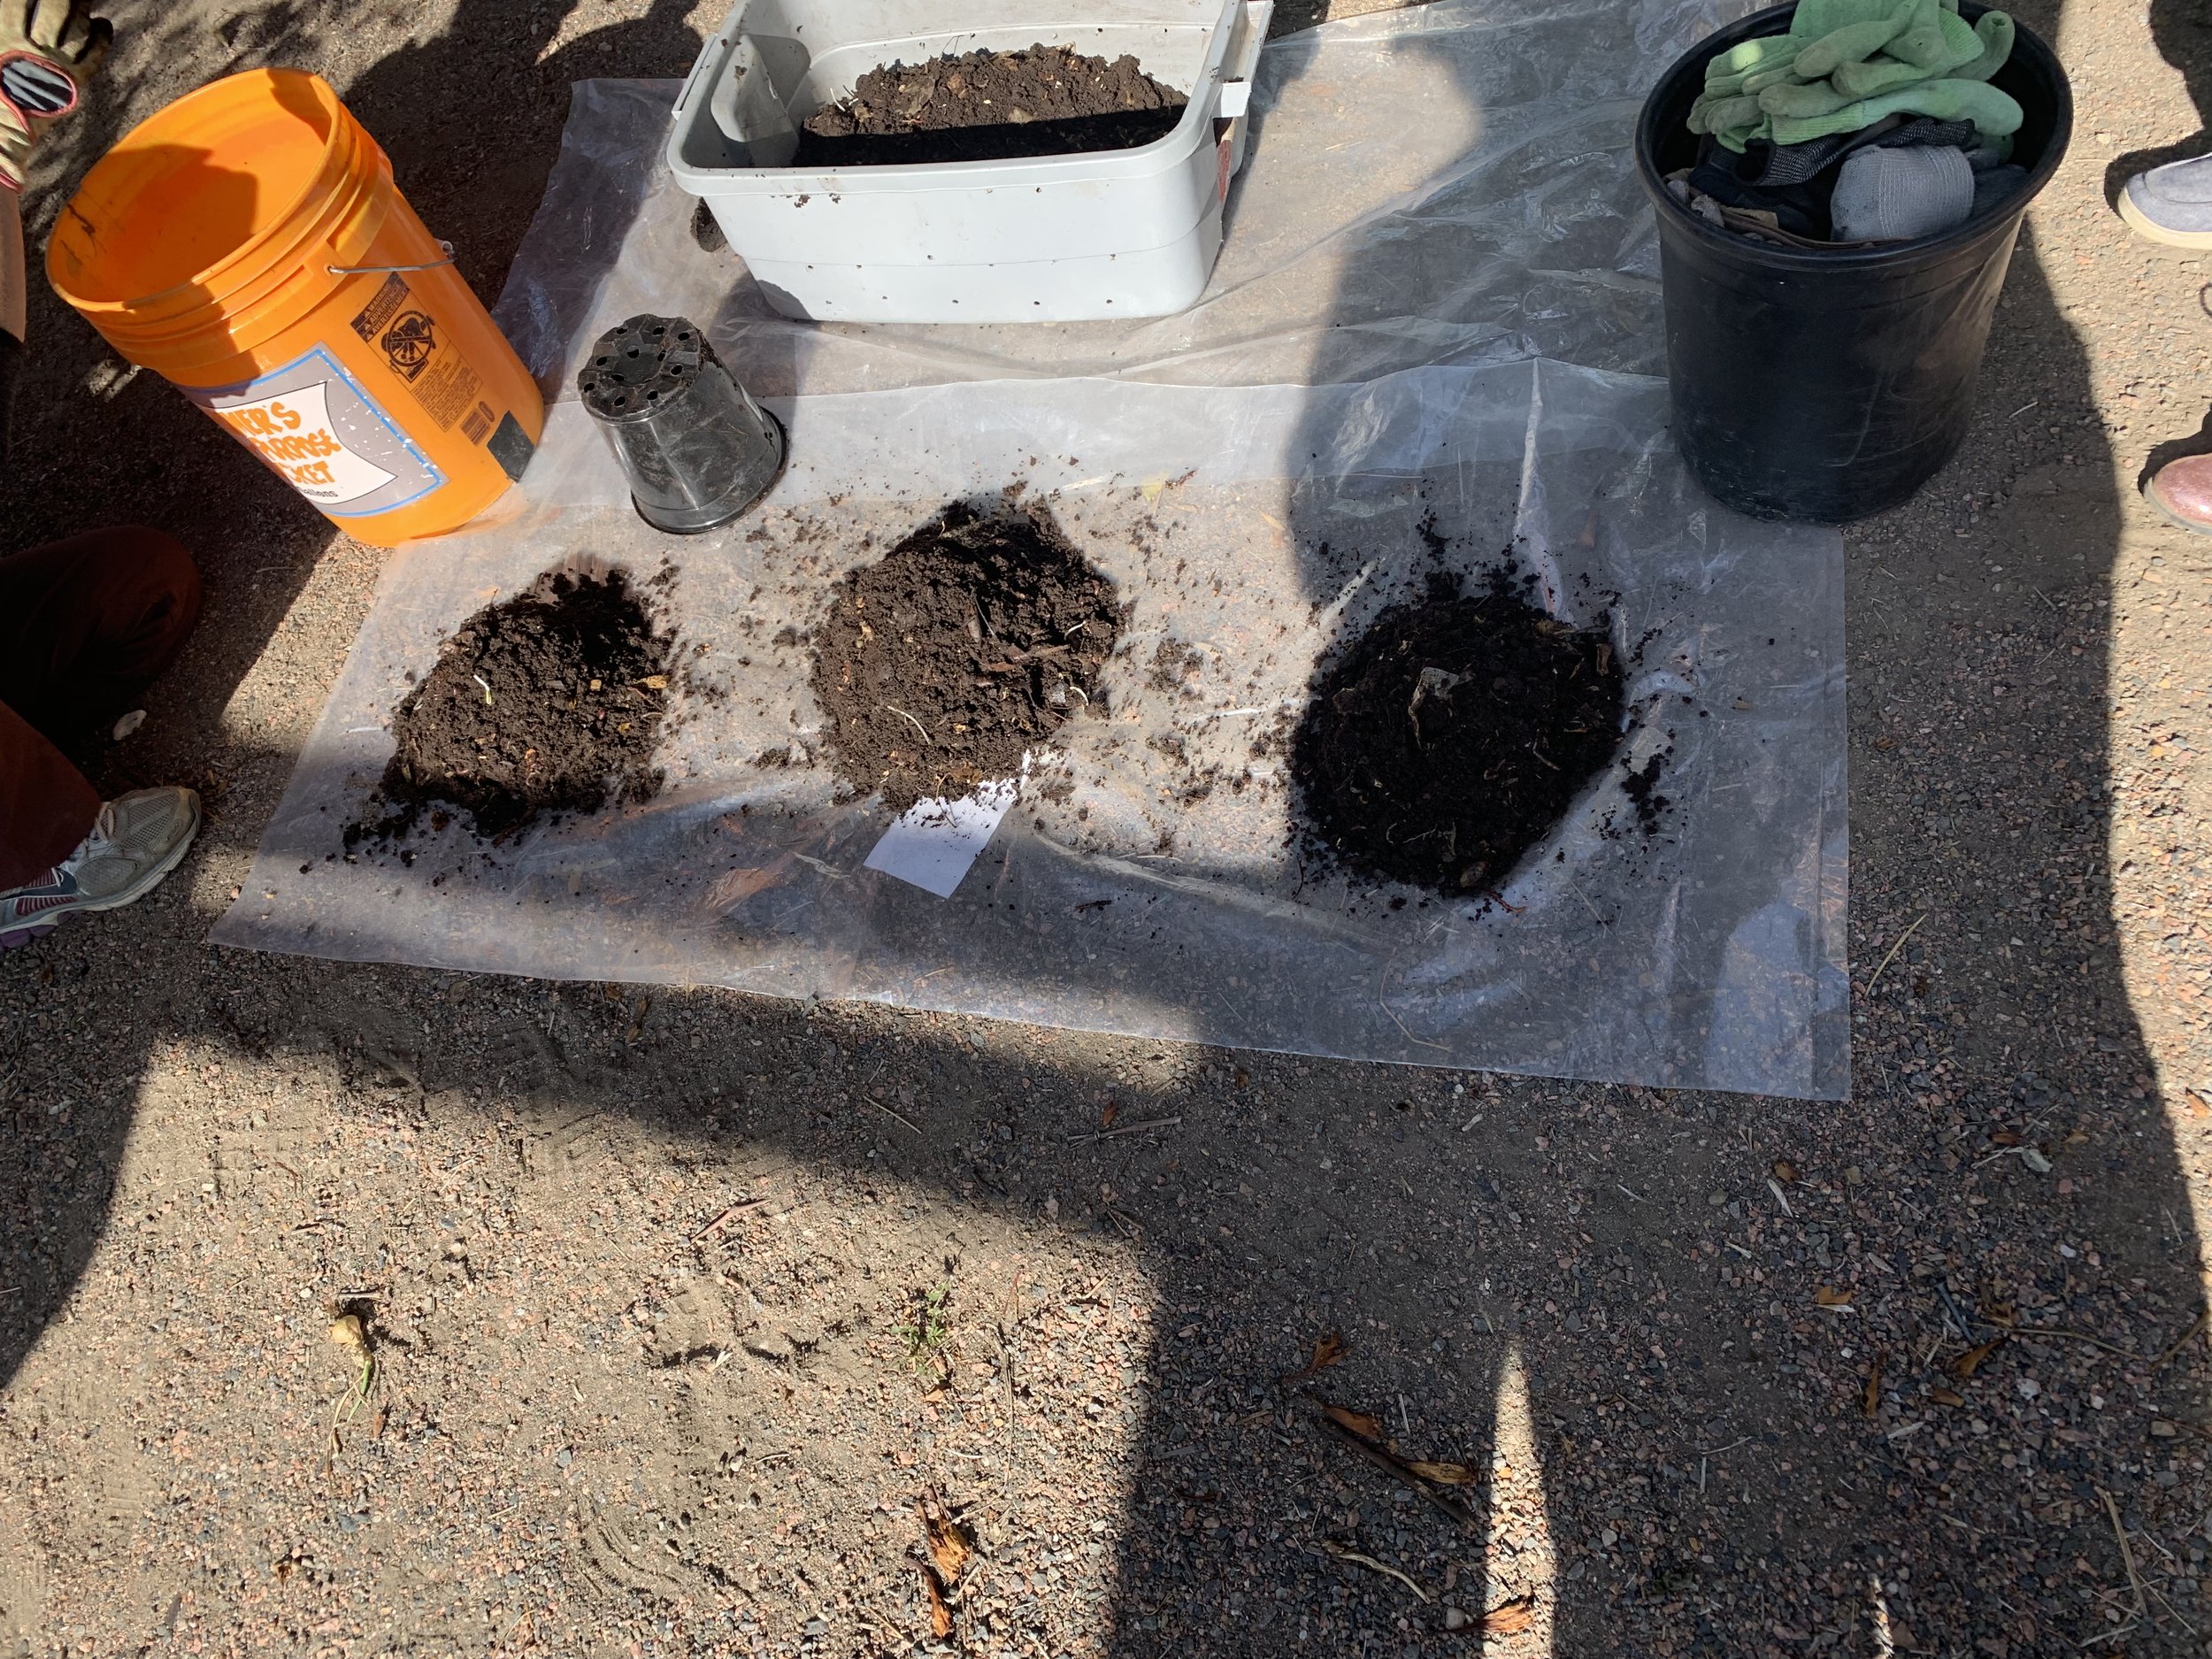
Stack the compost into 4-6 cone shaped piles somewhere bright.
Remove the top layer of compost picking out any unfinished pieces and worms.
Let the pile sit for 2-5 minutes while the worms migrate down.
Repeat the process until you are finished separating the compost.
If you have a multi bin system:
Once your bottom bin is full, place your second bin on top.
Fill the second bin with bedding and feed it as you normally would.
The worms migrate up through the system and start feeding and living in the new bin.
As the bottom bin finishes, continue feeding and stacking bins.
When your top bin is close to being finished, put all of your castings into a container with a loosely fitted lid.
If desired stack the compost into piles to separate the worms.
Troubleshooting
Sometimes issues arise when you have worms in the house. Below are a few things that could happen, and what to do when/if they do.

Using Castings
Make sure to check out our blog post on fertilizing your garden with worm castings!
WHEW!!! That was a lot!
Questions? We’re always around to help out.